REVIEW · ABISKO
Abisko: National Park Northern Lights Photo Tour
Book on GetYourGuide →Operated by Lights Over Lapland · Bookable on GetYourGuide
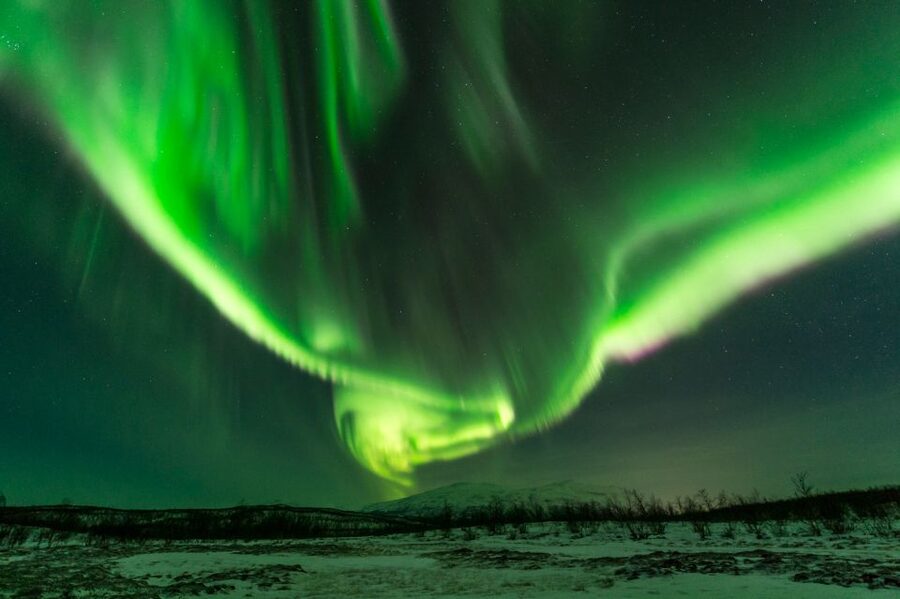
The aurora is a moving target. This Abisko Northern Lights photo tour turns the hunt into a guided photo adventure, with aurora-first planning and a few smart ways to chase the sky.
I really like two things about it: the tour-style DSLR coaching and gear rental, and the fact you’re not stuck doing only one viewing plan. That flexibility matters in the Arctic, where clouds change fast.
One consideration: you will be outside in real cold, and if you forget basics like a warm layer setup or an SD card, you’ll feel it fast.
Key things I’d tell you before booking
- Abisko National Park focus: designed around the area’s reputation for clearer sky windows
- Small groups of 8: enough attention to help with your camera, not just watch from a crowd
- DSLR rental + tripod + headlamp + overalls: you arrive ready to shoot
- Three chase methods: on foot at a teepee, in a 4×4 van, or by sleigh to wilderness camps
- Min. 3 hours of aurora searching during a 4-hour evening
- Warm-up breaks (including a fire shelter in practice) help you keep moving and shooting
In This Review
- Why Abisko works when the rest of the north is cloudy
- What you actually get in this 4-hour aurora photo session
- Three ways to chase the northern lights in Abisko (and when each one helps)
- 1) On foot near a teepee: steady viewing and easier photo setups
- 2) In a 4×4 van: quick moves when the sky is changing
- 3) By sleigh (pulled by snowmobile) to wilderness camps: comfort with a deeper feel
- How DSLR instruction turns aurora guessing into practical shooting
- Picking up in Abisko (and planning for no Kiruna transfer)
- Warmth strategy that actually matters in the Arctic
- Price and value: why $176 can make sense here
- Who should book this aurora tour, and who might not love it
- Should you book this Abisko Northern Lights photo tour
- FAQ
- What duration is the Abisko National Park Northern Lights Photo Tour?
- Where are the pickup locations?
- Is there pickup from Kiruna?
- What camera gear is included?
- Do I need to bring an SD card?
- Are boots included?
- How many people are in the group?
- What transportation methods might we use?
- What ages is the tour suitable for?
Why Abisko works when the rest of the north is cloudy
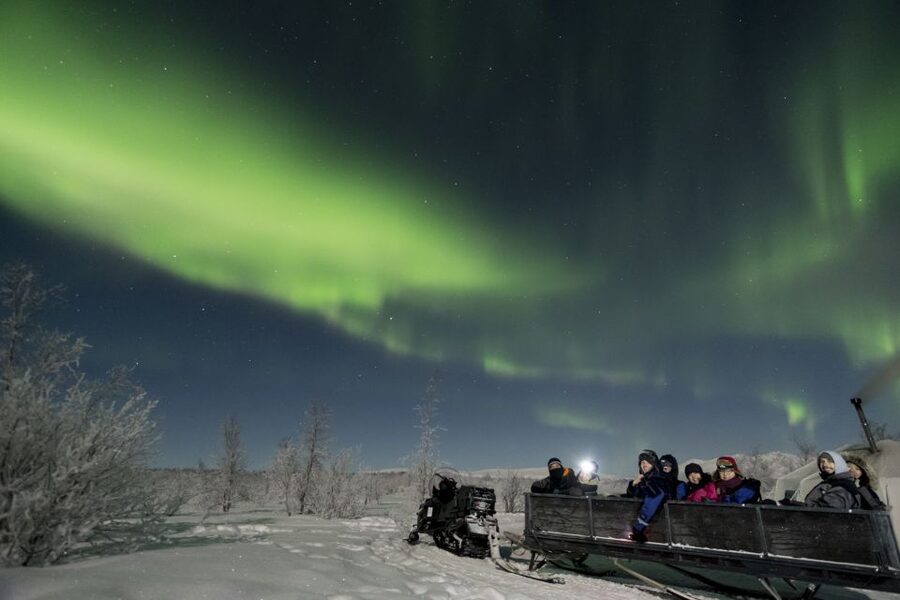
Abisko has a reputation for clearer conditions when northern lights are active. That matters because aurora hunting is less about hope and more about timing plus sky access. This tour is built around that logic: you’re going to be searching in and around Abisko National Park, not just doing a single stop and waiting.
What I like is the mindset built into the experience. Even if the first patch of sky looks messy, you’re not dead-ended. Your guide can switch approaches based on the aurora forecast and what the sky is actually doing. That means your evening is more about staying in the game than standing still and playing photographer roulette.
It also helps that the tour is explicitly designed as a photo adventure, not a casual walk. You’re given a DSLR setup aimed at night-sky work, plus a guide who can explain what you’re seeing and what to do with the camera in the moment.
What you actually get in this 4-hour aurora photo session
This is a compact evening, so value comes down to what’s included and how much time you spend hunting. The tour lasts about 4 hours, and the guiding plan includes a minimum of 3 hours of searching and photographing the aurora in the Abisko area.
You also get more than just a guide. Included gear is a DSLR camera and lens, plus a tripod, backpack, warm overalls, and a head lamp. That combo is practical: you can focus on learning composition and timing instead of trying to figure out camera settings in the dark while everything is freezing.
You’ll also have a warm drink and a small snack along the way. Some nights add a more “fika” style treat (warm lingonberry drink and cookies are mentioned in feedback), but either way the goal is the same: warm you up without breaking the rhythm of the chase.
Small groups matter here too. Limited to 8 participants, it’s easier for the guide to notice when someone’s struggling and help them fix the problem before the aurora moves on.
You can also read our reviews of more tours and experiences in Abisko.
Three ways to chase the northern lights in Abisko (and when each one helps)
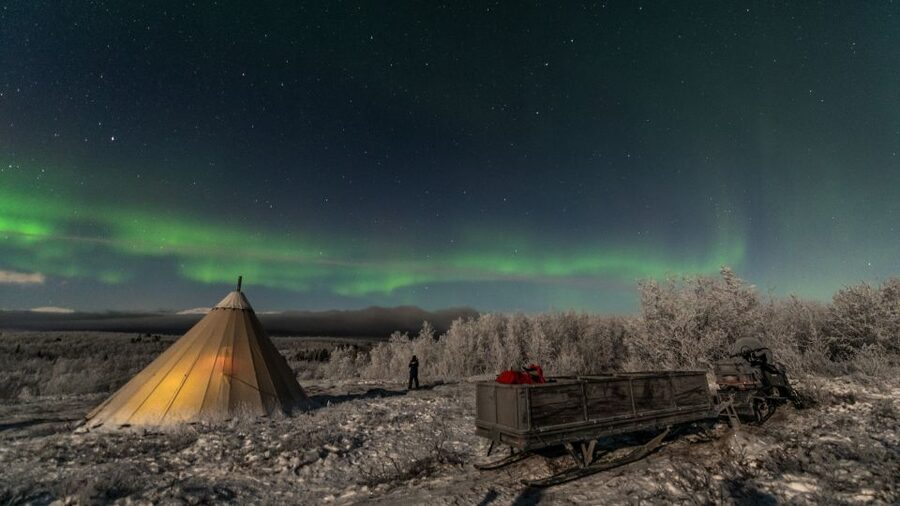
This is the heart of the tour: depending on weather and forecasts, you’re offered three different ways to hunt the aurora.
1) On foot near a teepee: steady viewing and easier photo setups
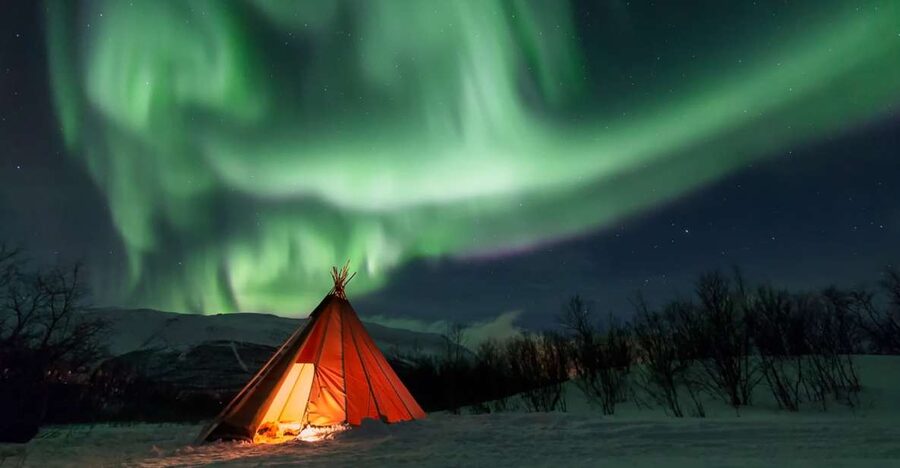
When conditions cooperate, you may search for the lights on foot at a nearby teepee. The advantage is simple: you can settle your tripod quickly, work on framing, and spend more time shooting rather than transferring between locations.
This mode is also a great fit if you’re newer to aurora photography. You can learn by doing: place the tripod, use the camera provided, and get coaching while you’re in one spot long enough to experiment.
The drawback is obvious: if visibility isn’t great, walking means you still have to stay flexible. Also, you should expect to walk in snow and cold for parts of the evening.
2) In a 4×4 van: quick moves when the sky is changing
If clouds shift in, you switch to motion. Chasing in a modern 4×4 van helps you reach better sky windows faster. For aurora viewing, that speed can be the difference between a faint show and a dramatic one.
From a photography perspective, the van option can be a bit more demanding. You’ll need to be ready when you stop: get the tripod positioned, follow the guide’s direction, and start shooting quickly.
3) By sleigh (pulled by snowmobile) to wilderness camps: comfort with a deeper feel
The third method is a cozy transport option: a sleigh pulled behind a snowmobile to wilderness camps around Abisko National Park. This can add a “you’re really out here” sense of place, and it often pairs nicely with longer viewing pauses.
The upside for photos is that you may arrive in a darker, more open environment where the night sky has room to show itself. The downside is that you trade speed for mood: you’re committing to the ride and then settling in when you get there.
How DSLR instruction turns aurora guessing into practical shooting
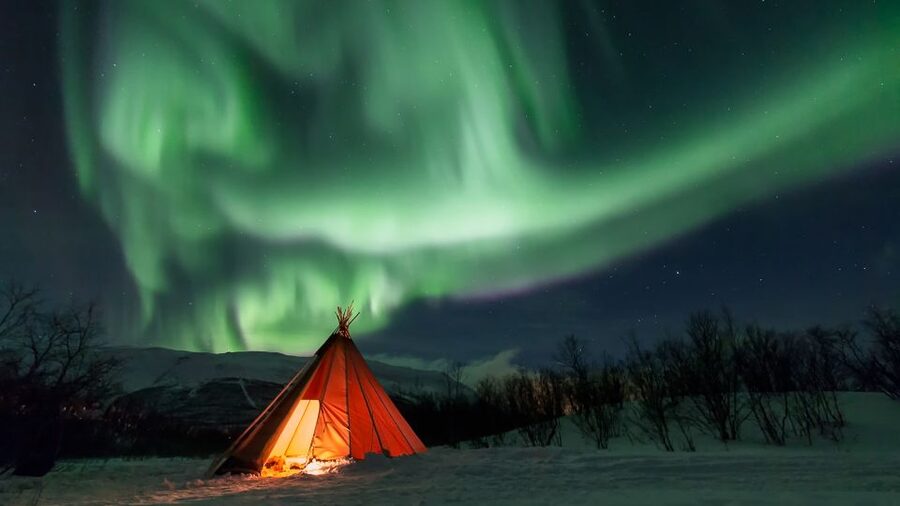
The tour doesn’t pretend you’ll master night photography in 10 minutes. Instead, it gives you the tools to get better fast.
First, you’re provided a DSLR camera and lens preset to capture the northern lights. That’s a huge help for first-timers. It reduces the amount of fiddling you have to do while your attention should be on spotting the sky action.
Then the guide reviews the basic skills you’ll need to find and photograph the aurora borealis. In practice, that means you’ll get guidance on how to use the camera at night, how to work with your tripod, and what to adjust when conditions change.
Even better: guides in the program are described as patient and supportive with real-time coaching. Some feedback includes help understanding terms used to monitor solar activity, plus guidance on interpreting what those signals might mean for your night.
And yes, some nights are cloudy or foggy at first. The best outcome in those cases is not just seeing lights. It’s learning how to keep your settings and your framing workable even when the sky refuses to cooperate at the start.
Picking up in Abisko (and planning for no Kiruna transfer)
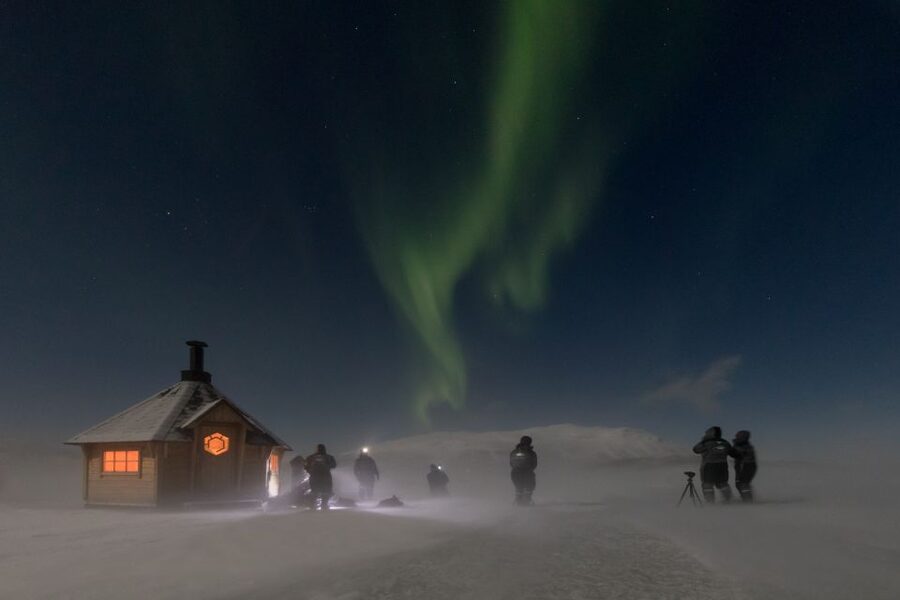
Timing is built around pickup. You’ll be collected from multiple Abisko options, with pickup times listed for each:
- Hotell Fjället: 7:10 PM
- STF Abisko Turiststation: 7:30–7:45 PM
- Abisko Guesthouse: 7:30–7:45 PM
- Abisko Fjällturer (Abisko.net): 7:30–7:45 PM
- Abisko Mountain Lodge: 7:30–7:45 PM
Two practical notes you should plan around:
- No pickup from Kiruna is offered.
- The guide meets you in Abisko or nearby Björkliden locations, depending on where you’re staying.
The tour runs about 4 hours, so you’ll want to plan your day accordingly. Think of this as an evening event, not something to squeeze between late dinners. Once you’re outside, your focus shifts to warmth, camera readiness, and watching the sky.
Warmth strategy that actually matters in the Arctic
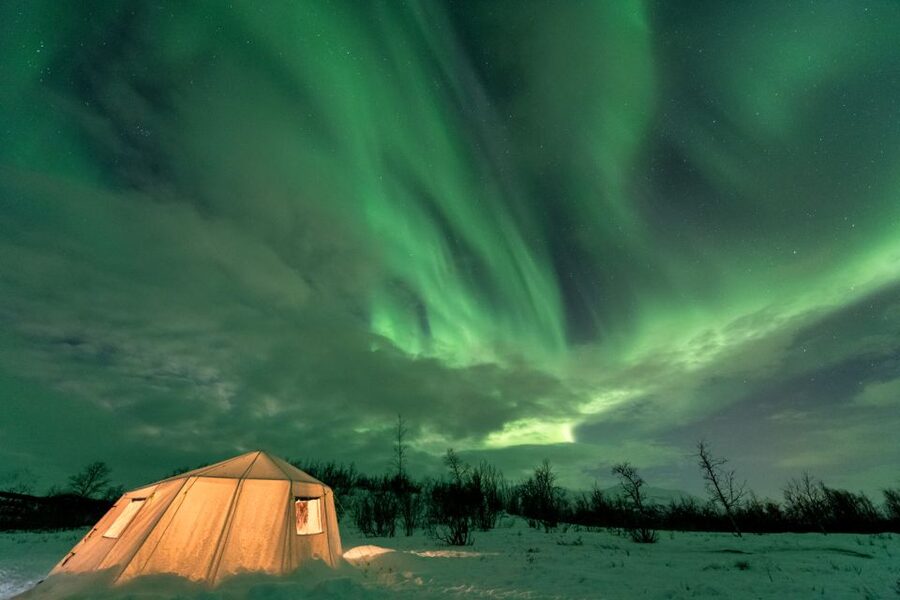
This tour is serious about keeping you functional in cold weather. Included gear includes warm overalls and a head lamp, so you can move, assemble your tripod, and find what you need without fumbling.
But your job doesn’t end with the included gear. You need to bring warm clothing to wear under the overalls and warm shoes. Heavy-duty arctic boots are available to rent during the tour, but boot rental is not included—so it’s worth budgeting for that if you don’t already have proper winter boots.
You should also expect the kind of walking where snow goes underfoot. If you have physical limitations, the tour asks you to inform them so they can guide you with that in mind.
One detail that gets repeated in feedback is the presence of a warm tent with a fireplace during some parts of the chase. Even when the aurora is faint, that warm-up reset helps you keep your hands steady and your attention sharp.
Price and value: why $176 can make sense here
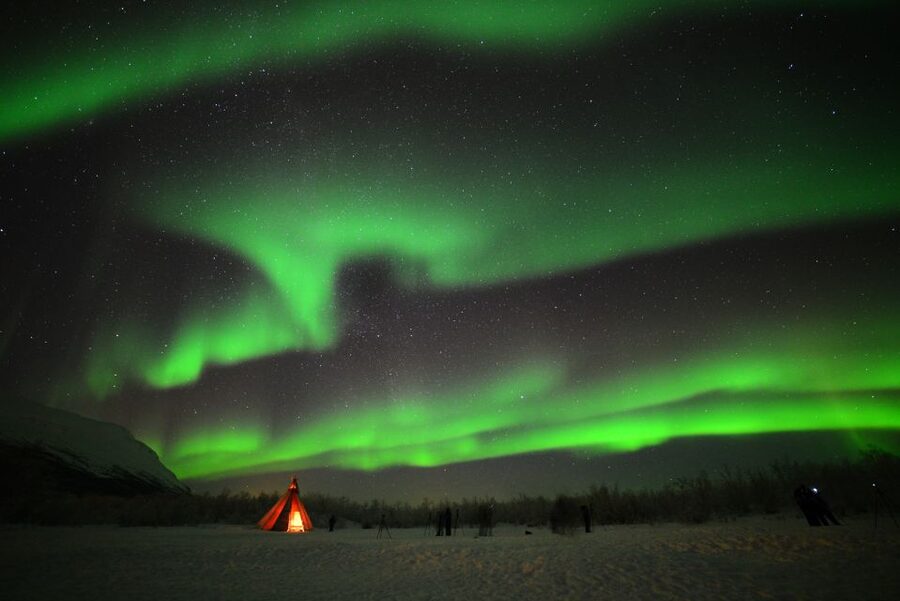
At $176 per person for a roughly 4-hour guided aurora photo session, the value comes from what you don’t have to buy or figure out on your own.
You’re getting:
- a DSLR camera and lens
- tripod support for long exposures
- overalls, head lamp, and a guided chase plan
- min. 3 hours of active searching and photographing
- pickup from designated locations in Abisko
If you’re traveling without winter photo gear, this is where the price feels more reasonable. A tripod, warm gear, and the right camera handling guidance are not trivial, and the Arctic rewards preparation.
The main thing to watch is what’s not included. You need a 16 GB SD memory card, and upgrades like a deluxe ultra-wide 14 mm lens aren’t part of the base price. In other words: you’ll likely want to pack an SD card and decide ahead of time if you want to upgrade your lens.
Who should book this aurora tour, and who might not love it
This tour is a strong fit if you want:
- a guided experience in Abisko National Park
- real help using a DSLR at night
- an evening that uses three chase strategies instead of one static plan
- the chance to get coaching in a small group of 8
It may be less ideal if you:
- can’t be outside for long stretches in cold conditions
- don’t want to walk in snow
- travel with children under 10 years (the tour is not suitable for them)
If you’re the kind of person who wants the northern lights experience and wants your photos to look like northern lights photos (not just blurry dark shapes), this is the right style of tour.
Should you book this Abisko Northern Lights photo tour
I’d book it if you care about two things: getting help with the camera and staying flexible when the sky changes. The three chase modes (teepee walking, van movement, sleigh-to-camp) are exactly how you protect your evening from the Arctic’s mood swings.
I’d pause before booking if you’re unprepared for cold walking, or if you’re hoping for a totally hands-off experience. This tour works best when you show up with warm layers, warm shoes, and an SD card ready to go.
FAQ
What duration is the Abisko National Park Northern Lights Photo Tour?
It runs for about 4 hours.
Where are the pickup locations?
Pickup is offered from several Abisko hotels/locations such as Abisko Guesthouse, Abisko Mountain Lodge, Hotell Fjället, STF Abisko Turiststation, and Abisko Fjällturer (Abisko.net). Pickup is included from any hotel in Abisko or Björkliden.
Is there pickup from Kiruna?
No, there is no pickup from Kiruna.
What camera gear is included?
The tour includes a DSLR camera and lens, a tripod, a backpack, overalls, and a head lamp.
Do I need to bring an SD card?
Yes. A 16 GB SD memory card is not included, so you should bring one.
Are boots included?
Boot rental is not included, though heavy-duty arctic boots are available to rent during the tour.
How many people are in the group?
The group is small, limited to 8 participants.
What transportation methods might we use?
Depending on conditions, you may hunt on foot near a teepee, chase in a 4×4 van, or ride a sleigh pulled by a snowmobile to a wilderness camp.
What ages is the tour suitable for?
It is not suitable for children under 10 years old.