REVIEW · ROME
Rome, Private Photography Guided Tour – Capture Iconic Sights
Book on Viator →Operated by Rome Photography Tours · Bookable on Viator
Your camera will learn Rome’s angles. This private photography guided tour is built around getting you to the right spots for the right light, with a pro photographer (Antonio) guiding your shots as you walk. I especially like the hands-on photo coaching and the ability to customize the route so you spend more time where you want photos.
One thing to consider: you’re responsible for bringing your own gear, including a camera and a tripod or monopod if you want crisp night/low-light shots.
You’ll meet at Largo di Torre Argentina and wrap back at the same point. It’s active (walking pace matters), and it’s designed for people of different photo levels, including non-photographer friends who just want to enjoy the sights while you shoot.
Admission works differently depending on which side you choose. The Forum/Colosseum area route lists admission tickets not included, while the Vatican City route notes admission is free, so it’s smart to plan ahead before you go.
In This Review
- Key highlights you can actually use
- Meet Antonio at Largo di Torre Argentina
- Two photo routes: Foro Romano to the Colosseum, or Vatican City via Pantheon and Navona
- Route A: Foro Romano and the Colosseum zone
- Route B: Vatican City and the central highlights route
- How the private photo coaching feels on a Rome walk
- Timing and light: why you should care even if you have auto mode
- Foro Romano to the Colosseum: what to aim for with your camera
- Pantheon to Navona to Castel Sant’Angelo to Vatican City: a sky-and-square photo loop
- What to bring: camera essentials that make a difference fast
- Price and value: what $216.27 really covers
- Who this Rome private photography tour suits best
- Should you book it? My take
- FAQ
- Where is the meeting point?
- How long is the tour?
- Is this a private tour?
- What kind of gear do I need to bring?
- Are entrance tickets included?
- Can I cancel for a full refund?
Key highlights you can actually use
- Private guidance with Antonio so your questions don’t get lost in a crowd
- Customizable walking route to match your pace and the photos you care about
- Best-light positioning so you’re not just sightseeing—you’re shooting
- Composition and fundamentals coaching that improves your photos fast
- Bring-your-own gear setup with optional tripod/monopod tips
- Two iconic zones to choose from: ancient Rome or Vatican-adjacent highlights
Meet Antonio at Largo di Torre Argentina
The tour starts in one of Rome’s classic “how did this city fit so much into one spot” areas: Largo di Torre Argentina. It’s a practical meeting point near public transportation, and it puts you right near the old layers of the city without starting you miles away from anything.
What I like most here is how the session feels like a workshop that happens to travel. Antonio is a professional photojournalist with excellent English, so explanations land clearly, even if your experience is casual. And because it’s private, you don’t have to wait your turn for help with framing, lens choice, or how to manage steady shots while walking.
This is also an easy win if you want to bring a friend. Non-photographer companions are welcome, and the tour still works as a guided sightseeing walk—just with you focusing on photos.
You can also read our reviews of more tours and experiences in Rome.
Two photo routes: Foro Romano to the Colosseum, or Vatican City via Pantheon and Navona
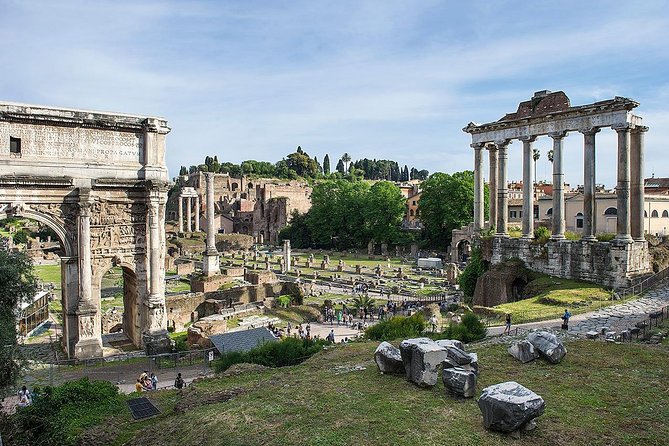
You can plan your experience around the Rome you most want to photograph. The tour is structured as two main photo walks, each roughly 3 hours.
Route A: Foro Romano and the Colosseum zone
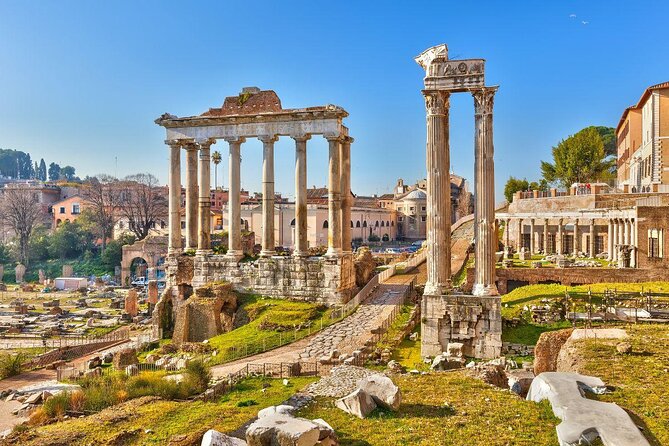
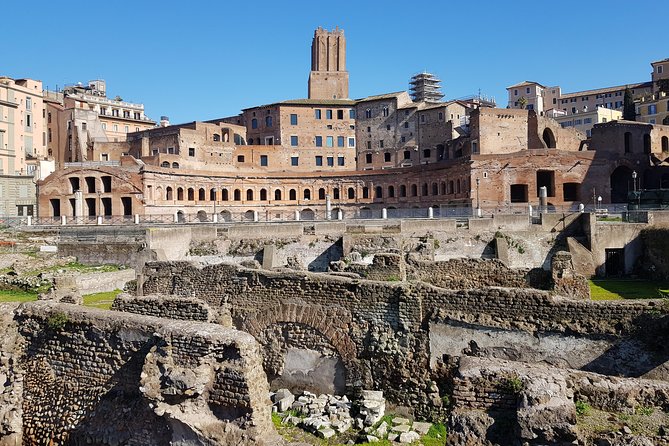
This route ties together a string of iconic ancient landmarks, starting near the Largo di Torre Argentina area and threading through places like the Jewish ghetto area, Tiber Island, Capitol Hill, and then into the Roman Forum and onward toward the Colosseum area. If you love texture—stone, arches, worn details—this is the natural fit.
The big advantage is that you’re not shooting one monument in isolation. You’re photographing transitions: viewpoints that show how Rome’s layers connect.
Potential drawback: some of the sites on this side have admission fees that are not included on this tour. So you may want to factor that into your day and budget.
Route B: Vatican City and the central highlights route
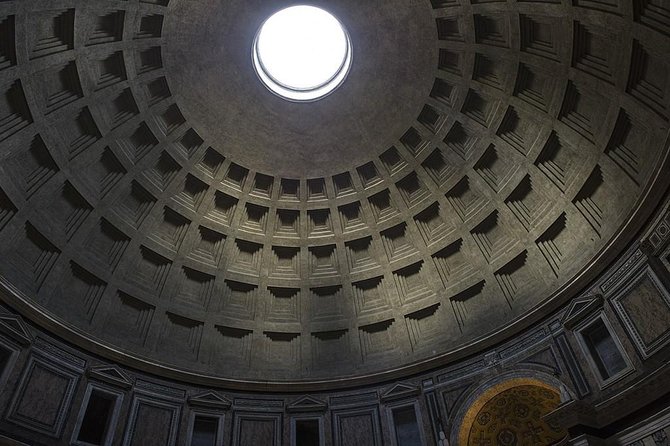
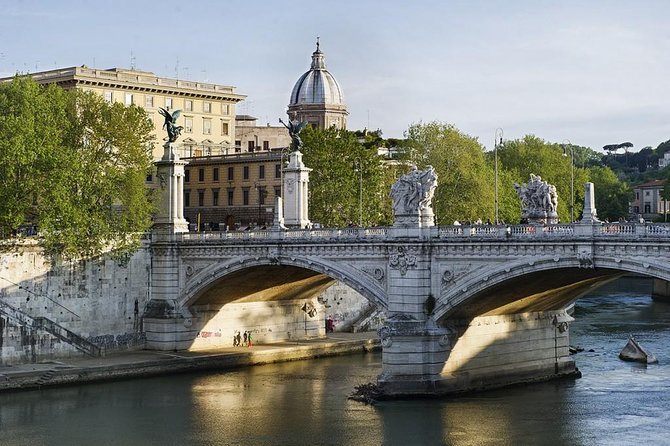
If Vatican-adjacent sights are your priority, this route takes you toward Vatican City, with major photo stops on the way. You move through classic Rome-photo magnets like the Pantheon area, Piazza Navona, and the Castel Sant’Angelo zone before reaching Vatican City.
Why it works: you get a mix of big domes, squares, and skyline angles in one walking flow. It’s ideal if your camera loves both architecture and street-level energy.
This route notes that admission tickets are free, which can simplify planning compared to the ancient-side route.
How the private photo coaching feels on a Rome walk
A private photo tour can go two ways: either the guide just points and the photos stay on you, or you get actual teaching. This one leans hard toward coaching.
Antonio doesn’t just show you where to stand. He helps you learn how to look. In practice, that means you get tips on fundamentals and composition while you’re actually trying shots. He’s patient, and if you ask questions, he’ll slow down and explain the why—not just the where.
From the experience, I also like the “full-circle” effect. You can cover the city in one loop while still getting a mini-lesson on photography basics. One of the best parts is that Antonio understands how timing affects results. He helps you get in position when the light and angles make sense, which is huge in a city like Rome where shadows can change fast.
And yes, he also takes pictures along the way—useful if you’re trying to understand what good composition looks like when someone else frames it first.
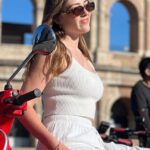
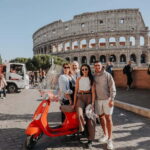
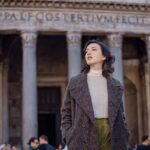
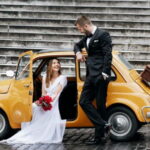
Timing and light: why you should care even if you have auto mode
Rome’s streets and monuments punish bad timing. You can show up at a famous spot and still end up with flat photos if the light is wrong, if your angle is off, or if you’re standing in the wrong place.
Antonio’s focus on being at the right vantage point at the right time is what makes this tour feel smarter than just walking with a camera. The tour is designed to help you avoid the common mistake: rushing from stop to stop without learning how the scene changes as the sun moves.
Even if you shoot on auto settings, you’ll benefit because positioning matters. Better framing, calmer shooting, and understanding how to compose in the moment will upgrade your images more than buying one extra gadget.
Foro Romano to the Colosseum: what to aim for with your camera
This side of the tour is built around iconic ancient photo opportunities. Expect a walking sequence that connects the Jewish ghetto area, Tiber Island views, and Capitol Hill perspectives before landing you in the Roman Forum area and moving toward the Colosseum.
Here’s how I’d think about shooting this zone:
- Look for layering: Rome is rarely one clean “front view.” Try shots that show depth—foreground stone, midground ruins, and background skyline.
- Use the crowd and movement to your advantage, but don’t let it steal your steadiness. Rome is active. Your camera settings and stance matter.
- Watch for “compositions you won’t find on your own.” The guidance is specifically helpful for discovering positions that create stronger lines and angles than the obvious spots.
If you like architecture, this route is a natural match. You’ll get the kind of angles that make you feel like you’re photographing a film still, not just a tourist scene.
Just keep in mind the admission situation. This route lists that an admission ticket is not included, so you may want to check what you plan to enter and budget accordingly.
Pantheon to Navona to Castel Sant’Angelo to Vatican City: a sky-and-square photo loop
This route gives your camera variety. You’re photographing different “modes” of Rome: the Pantheon area’s architectural presence, Piazza Navona’s open square composition style, and Castel Sant’Angelo’s skyline-ready viewpoints before you reach Vatican City.
What you’ll likely enjoy most is the balance between architectural and urban framing. In this kind of loop, your photos can shift from grand structure to human-scale details without changing the theme of the day.
I’d also watch for quick changes in perspective. Piazza Navona and surrounding areas reward moving a few steps left or right—small repositioning makes a big difference. Antonio’s job is to help you see those small changes quickly, and then choose the one that makes the photo work.
If you want a smoother planning day, this route also notes that admission is free, which can help you avoid ticket stress compared to the other option.
What to bring: camera essentials that make a difference fast
This tour is photo-first, so your kit matters. You’ll need your own camera—digital or analog—and it’s worth thinking about how you’ll stabilize shots.
Here’s the gear list that’s directly relevant:
- Your personal camera
- Camera backpack (so you’re not juggling straps while walking)
- Assorted lenses (helpful if you want wide for architecture and tighter shots for details)
- A flash unit (they may not use it, but it’s smart to have for odd low-light moments)
- Extra batteries (Rome walking + photo bursts equals fast battery drain)
- Tripod for night/low light, or a monopod if you want something lighter
- A great pair of walking shoes
One practical note: a tripod is powerful, but it slows you down if you don’t plan for it. If you tend to shoot quickly, a monopod might be the better compromise. Either way, the guide’s coaching can help you decide how to use your setup without feeling stuck.
Price and value: what $216.27 really covers
At about $216.27 per person for roughly 3 hours, the value here isn’t “tickets” or “transportation.” The value is the human instruction and the time-well-spent planning.
Included is a professional photographer guide and a customized tour. That means you’re paying for:
- someone to choose better shooting positions than you’d likely find alone
- coaching that helps you improve rather than just take photos
- timing decisions that affect the final image quality
Not included is what most photo-walk tours often don’t include: hotel pickup/drop-off, transportation, and any attraction entrance fees (depending on the route). You’re also bringing your own camera.
So the smartest way to justify the cost is simple: if you want better photos and you’re willing to do some walking, paying for a pro to guide your decisions saves you time. Instead of spending your Rome day trial-and-erroring in the wrong place, you get a plan that’s focused on results.
Who this Rome private photography tour suits best
This is ideal if you fit one of these buckets:
- You want photos of Rome’s iconic sights but you don’t want to guess how to frame them.
- You’re an amateur who wants fundamentals explained patiently while you shoot.
- You’re more advanced and want fresh vantage points and stronger composition habits.
- You’re traveling with a friend or family member who doesn’t need to be the one behind the camera, but still wants a great guided walk.
It may be less ideal if:
- You have no interest in photography at all and just want casual sightseeing.
- You don’t want to carry a camera (and possibly a tripod/monopod).
- You want a full day of museum-style indoor time. This is walking-focused.
Should you book it? My take
I’d book this tour if your goal is better Rome photos with less wasted time. The biggest win is Antonio’s coaching—patient explanations, real composition advice, and a plan that focuses on where you should stand and when you should shoot. If you care about improving, not just documenting, this feels like time well spent.
Choose the ancient route if you love ruins and big stone textures, and choose the Vatican-side route if you want a classic mix of domes, squares, and skyline viewpoints. Either way, go prepared with solid shoes and your own gear, and you’ll get more out of the experience fast.
If you’re hoping to show up, press the shutter, and be done without thinking, you might be happier with a simpler tour. But if you want your camera to learn Rome’s angles, this one is worth it.
FAQ
Where is the meeting point?
You start at Largo di Torre Argentina, 7, 00186 Roma RM, Italy.
How long is the tour?
It’s about 3 hours.
Is this a private tour?
Yes. It’s private, so only your group participates.
What kind of gear do I need to bring?
You need your own camera, plus a tripod or monopod is recommended for night or low-light situations. The experience info also suggests extra batteries and a flash unit if you have one.
Are entrance tickets included?
It depends on the route. For the Foro Romano/Colosseum side, an admission ticket is not included. For the Vatican City side, admission is listed as free.
Can I cancel for a full refund?
Yes. There’s free cancellation, and you can cancel up to 24 hours in advance for a full refund.