REVIEW · ROME
Rome Photography Masterclass – Private Photography Lesson
Book on Viator →Operated by Aperture Tours · Bookable on Viator
You’ll shoot Rome with a real teacher, not a generic tour. I like the private, coach-style attention and the choice between day or night shooting, which changes what you should aim for. One thing to consider: this is a short walk with quick photo stops, so it’s not a slow sightseeing day or an in-depth ticketed-visit tour.
In about 3 hours, you’ll work through camera basics or refinements while photographing Rome’s big names and a few less-obvious angles. I also appreciate that the sites are mostly approached from outside for photo time, which keeps the session moving. Bring your camera, and plan to walk.
In This Review
- Key points
- A Private Rome Photo Lesson That Actually Teaches
- Day vs Night in Rome: Pick Your Light, Pick Your Style
- What You’ll Learn in About 3 Hours (Even with 0 Experience)
- Price and Value: What $181 Per Person Gets You
- Stop 1: Colosseum Photos Without the Usual Rush
- Stop 2: Pantheon Framing, Exposure, and Timing
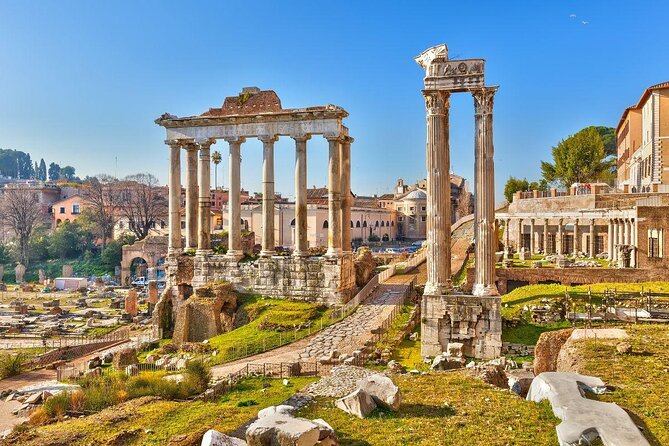
- Stop 3: Roman Forum Angles That Add Depth
- Stop 4: Trevi Fountain and the Art of Better Angles
- Stop 5: Piazza Navona and Street-Level Composition
- Stop 6: Castel Sant’Angelo for a Strong Finale
- What to Bring (And What’s Not Included)
- Logistics That Matter: Timing, Private Group, and the Meeting Point
- Who This Works Best For
- Should You Book This Rome Photography Masterclass?
- FAQ
- How long is the Rome Photography Masterclass?
- Is this tour private?
- Where does the tour start and end?
- Which places will we photograph during the session?
- Do I need to buy tickets for the stops?
- Is cancellation free if plans change?
Key points
- Private coaching keeps the lesson tied to your level and the photos you want to make
- Day or night options help you target the lighting style you enjoy most
- Short photo windows at major icons lets you practice fast and iterate your settings
- Professional photography guidance focuses on camera settings, composition, and lighting
- A tight route links Colosseum, Pantheon, Roman Forum, Trevi Fountain, Piazza Navona, and Castel Sant’Angelo
A Private Rome Photo Lesson That Actually Teaches
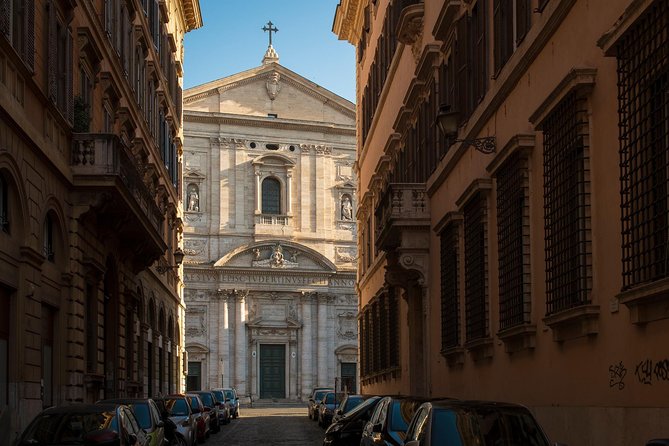
A group photo walk can be fun, but you often lose the useful part: someone watching what you do, then correcting it. This masterclass is built around a private photography lesson, so you’re not competing for attention while people rush to the next stop.
The big advantage is the coaching focus. You’re encouraged to bring your camera and learn techniques you can use immediately: camera settings, composition, and lighting. That matters in Rome because your “best shot” is rarely just luck. It’s usually the angle, the timing, and whether you’re exposing and composing on purpose.
The session also includes a local guide plus a photography professional guide. Translation: you get the city context, but the main goal stays on your photography. If you’ve ever taken 50 similar photos and then wondered why none look like the ones you saved on your phone, this is the kind of structured feedback that helps.
You can also read our reviews of more tours and experiences in Rome.
Day vs Night in Rome: Pick Your Light, Pick Your Style
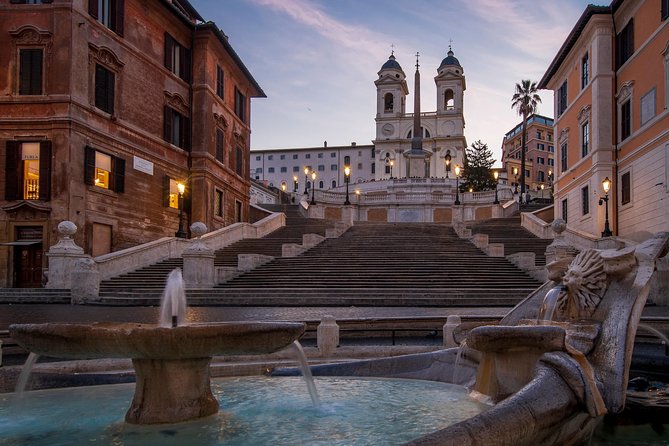
Rome at noon and Rome after dark feel like different cities. This experience lets you choose a day or night tour, and that choice shapes what you should expect to practice.
On a day option, you’re usually dealing with brighter highlights and deeper shadows, which makes exposure and contrast settings more important. You’ll likely concentrate on structure: lines, symmetry, and how buildings sit in the frame. For someone new to the camera, daylight also makes it easier to see what’s going wrong while you adjust.
On a night option, the challenge becomes light sources, reflections, and steadier composition under lower light. You’ll get practice thinking about how to frame famous monuments when the streets around them are doing their own thing. One important practical note: you may want a comfortable walking plan, since night photography often means you’ll be stopping in place to fine-tune shots.
If you’re the type who loves drama and glow, night tends to feel more rewarding. If you prefer crisp detail and “architectural” photos, go day.
What You’ll Learn in About 3 Hours (Even with 0 Experience)
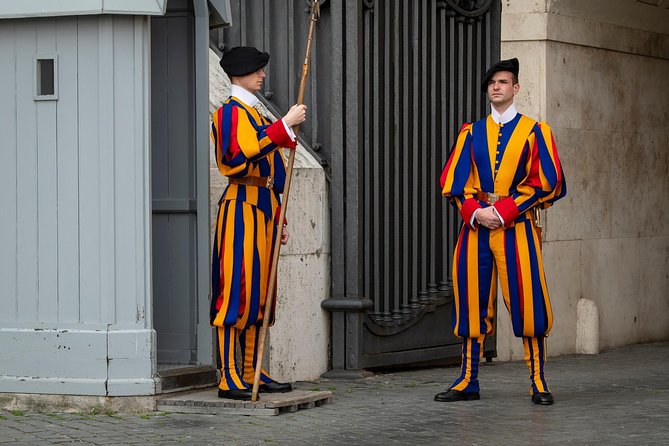
This isn’t a lecture that ends with “go practice.” It’s a walking lesson that uses Rome’s icons as a hands-on classroom. The guide spends time understanding your current ability and what kind of photography you like, then adjusts instruction to match.
In previous sessions, the photography coach has been Emanuele, and the teaching style stands out for beginners. People describe patient, step-by-step guidance that covers basic camera understanding first, then moves into how to frame and shoot. That’s a huge deal because the fastest way to improve is making your camera behave the way you want.
Here’s what you can expect to work on during the walk:
- Getting the camera set right for the scene you’re photographing
- Composition choices so you’re not just pointing at a monument
- Lighting awareness so your photos look intentional, not random
- Perspective changes so Rome stops looking like the same postcard view
The short stops help you repeat and adjust. You shoot, you get feedback, you change one thing, and you try again. That cycle is the real learning engine.
One more helpful detail: if you don’t have a tripod, the experience notes that a tripod is available upon request. You’ll want to ask ahead or early in the meet-up so you’re not scrambling mid-session.
Price and Value: What $181 Per Person Gets You
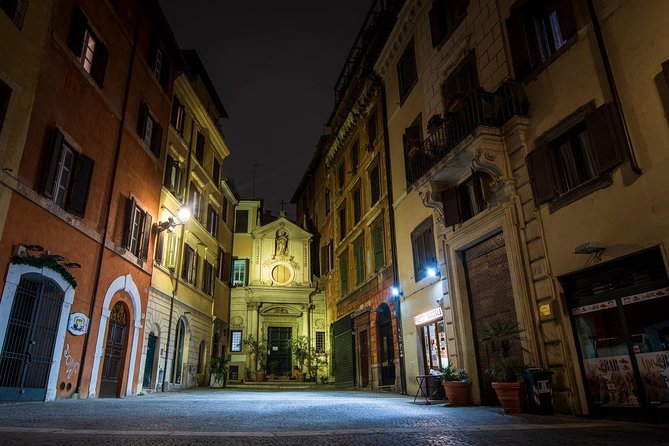
At $181.02 per person for about 3 hours, the question isn’t only whether Rome is expensive. It’s whether you’re buying teaching time.
You are. This price reflects:
- a private tour (only your group)
- a local guide plus a photography professional guide
- multiple major photo stops tied to direct coaching
Transportation to and from attractions is not included, and your camera is not included either. That means the price is focused on instruction and guiding, not on logistics like rides or equipment rentals.
Where this becomes good value is for people who only have a limited amount of time in Rome. If your schedule is tight, you can pack iconic sights into one session while still getting the photography help you’d otherwise only get from private lessons at home.
If you already know your way around manual mode and composition, you might not need a full masterclass. But even then, having someone show you better angles and how to think about framing can still upgrade your results fast.
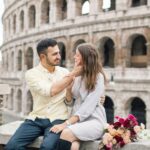
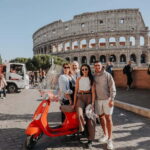
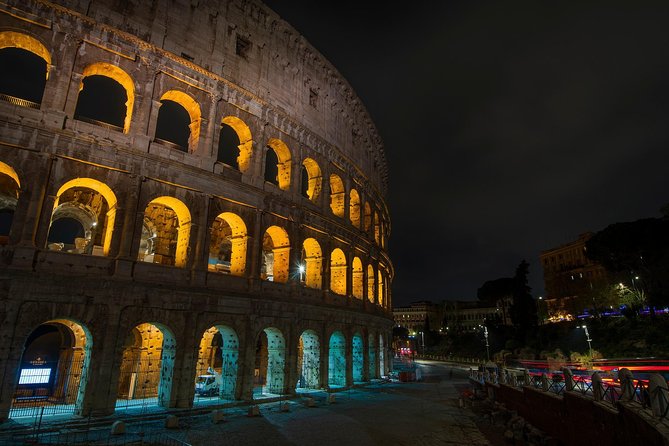
Stop 1: Colosseum Photos Without the Usual Rush
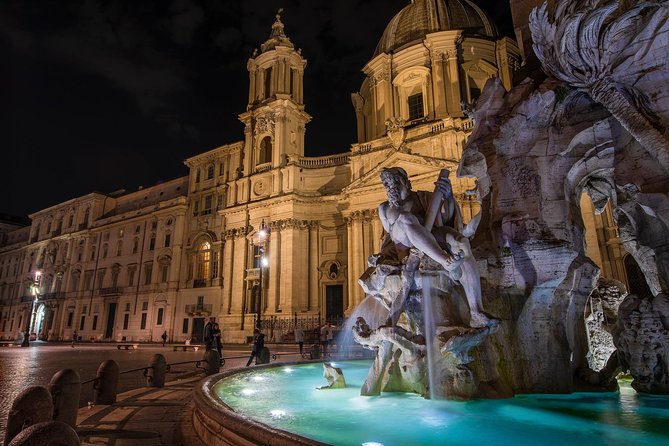
You start at Fontana del Colosseo (00184 Roma RM). That’s a smart choice because it gets you close to the Colosseum area early, when you can still think clearly about your first shots.
The Colosseum stop is built around passing by and photographing it, with about 30 minutes allocated. That timing matters: you’re not waiting for museum hours or entry lines, so you can spend that time on technique.
This is where you can practice big-picture composition rules:
- include enough context to show scale
- decide whether you want symmetry or a more dramatic perspective
- watch how your angle changes the monument’s lines
If you’re learning, this is also an easy place to see camera settings at work. Bright stone textures can reveal exposure problems quickly, and the contrast between sunlit surfaces and shadow areas teaches you what your camera does automatically versus what you control.
Stop 2: Pantheon Framing, Exposure, and Timing
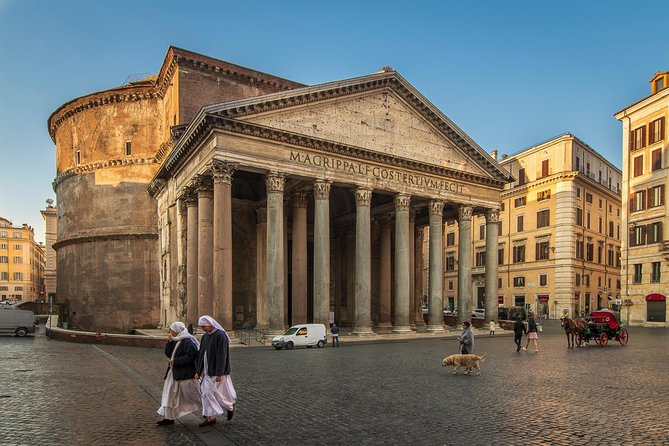
Next comes the Pantheon, again with about 30 minutes, and also described as a pass-by photography moment. With the Pantheon, you can focus on a different set of photography skills than the Colosseum.
Why it’s a great second stop: the Pantheon’s geometry helps you train composition. Circular and straight elements make it easier to see when your framing is off. Also, the mix of light and shadow teaches exposure decisions in a very visible way.
Even if you’re not aiming for a technical photo, you can still use the coaching approach here. Ask yourself:
- What does the center of the frame want to do?
- Are you shooting too wide and losing impact?
- Are your highlights blowing out on bright stone?
Because the stop is time-limited, you learn faster. You can’t overthink it for an hour, so you develop a habit: set, shoot, adjust.
Stop 3: Roman Forum Angles That Add Depth
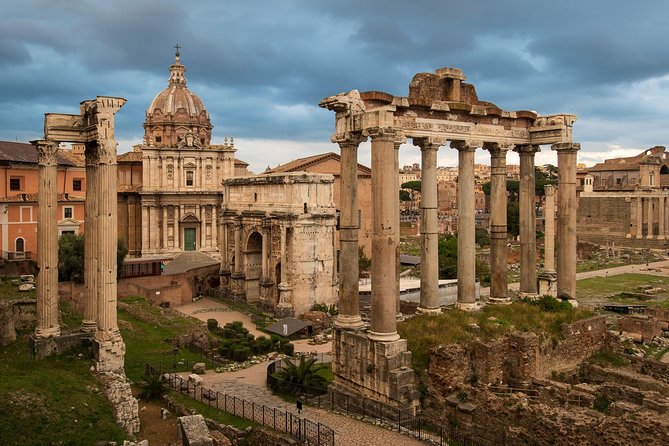
After the Pantheon, you move to the Roman Forum, also with about 30 minutes. This stop is ideal for practicing layering and depth, because ruins naturally create multiple planes: foreground textures, mid-ground structures, and background silhouettes.
If your photos have looked flat in the past, this is a good lesson topic. The Roman Forum environment rewards small camera choices, such as:
- your distance from the subject
- whether you include a foreground element
- how you keep vertical lines from tilting
The guide’s instruction typically pushes you beyond “take a photo” into “make a frame.” That’s where you start getting images that feel like you chose the story, not just the subject.
One practical benefit of the short walk: you’ll likely remember what you learned in the prior stop because your brain is still tuned to composition problems. That makes improvement feel immediate.
Stop 4: Trevi Fountain and the Art of Better Angles
Now for the famous one: Trevi Fountain, again about 30 minutes. Trevi can be tricky because it’s busy, bright, and full of competing visuals. This is exactly where a coach helps, because the best photo is often not the one everyone aims at.
A standout note from coaching styles in past sessions is the way the guide leads people to a more interesting perspective. One attendee even called out a secret-style spot for an amazing Trevi shot. You can treat that as a prompt: don’t accept the first view as your only option. Ask your guide about alternative angles and how to frame people and stone without turning your image into a cluttered mess.
For photography practice, Trevi is great for:
- balancing bright highlights with darker areas
- deciding what to do with motion (especially when people are moving)
- controlling your composition so the fountain remains the main character
If you’re shooting at night, Trevi’s lighting becomes a separate lesson. Reflections and warm street light can change your exposure decisions quickly.
Stop 5: Piazza Navona and Street-Level Composition
Next is Piazza Navona, about 30 minutes, with the goal of photographing the scene rather than doing a ticketed visit. Piazza Navona is where architecture meets street life, and that mix is useful for learning real composition.
This is the moment to practice framing beyond monuments. You can include:
- the architectural curve lines
- the plaza’s open space
- small details that add human scale
If you’re into street photography, this stop helps you learn how to position your frame so people don’t become visual noise. The coaching approach tends to emphasize perspective and how to compose with what’s happening around you, not just in front of you.
Also, because you’re moving through a real working city, you learn how to work quickly while staying polite and safe. You’re shooting in public, so the goal is consistent technique, not risky behavior.
Stop 6: Castel Sant’Angelo for a Strong Finale
You’ll end at Castel Sant’Angelo, again about 30 minutes. This is a satisfying last stop because it can give you a strong “wrap-up frame,” whether you’re shooting daylight textures or night glow.
Castel Sant’Angelo offers a different vibe than the fountains and plazas. It’s more about structure and mood. That makes it a good testing ground for everything you practiced earlier in the session:
- Did you improve your composition?
- Are your exposures more consistent?
- Can you recognize the kind of light the scene offers and adjust?
One of the best parts about having a guide for the final stop is correction. By then, you’re not just learning from scratch. You’re refining.
When the session ends, it returns you to the same meeting point. So you’re not left trying to figure out transport while still buzzing from your photo results.
What to Bring (And What’s Not Included)
This masterclass is designed around you doing the shooting. That means your packing list is simple, but important.
You’ll want to bring:
- your camera (the experience notes camera is not included)
- anything you personally rely on to steady or frame shots (if you have one)
The experience also notes a tripod can be available upon request, but it’s not guaranteed as your default setup. If tripod use matters to your style, ask early.
What’s not included:
- Transportation to or from attractions
- your camera
- admission tickets at the listed stops (they’re labeled as free for this experience), which also suggests you’re photographing from outside rather than entering
Because it’s near public transportation, you can plan your arrival and departure with less stress. Still, build in a few minutes buffer. Rome is Rome: your feet will do most of the work.
Logistics That Matter: Timing, Private Group, and the Meeting Point
The session runs for about 3 hours, and you can select day or night. Booking far ahead is common, with an average booking window listed at 96 days. That’s a hint: if you know your travel dates, lock it in early, especially for night slots.
It’s also a private tour, meaning only your group participates. That matters for learning because your coach can slow down or speed up to match your style instead of keeping a shared pace.
You start at Fontana del Colosseo and end back at the meeting point. That keeps the route simple. You’re not constantly recalculating how to get back.
The tour is offered in English, and confirmation happens after booking. You’ll also get a mobile ticket.
Who This Works Best For
This is a strong fit if:
- you want to learn your camera settings in real scenes, not in a classroom
- you’re traveling with limited time and want multiple famous stops
- you care about composition and want direct feedback
- you like the idea of choosing day or night light
It’s especially helpful for beginners. Multiple accounts emphasize patient teaching and guidance that starts from scratch and builds confidence fast.
If you’re an advanced photographer who already shoots confidently in manual, you may find the basics less useful. But you can still get value from having someone help you see angles and framing choices you might skip on your own.
If you hate walking or want museum-level time inside major sites, you might feel the session moves too quickly. The format is designed for photo practice at key viewpoints, not long indoor exploring.
Should You Book This Rome Photography Masterclass?
I think this is worth booking if you want better photos more than more checkmarks. For a one-day Rome visit, it’s a practical way to combine iconic scenes with real coaching, and the private format keeps it from feeling generic.
I’d book it if:
- you want someone to work with your current skill level
- you want a repeatable approach to composition and lighting
- you’re interested in both day and night, and you want to pick the best light for your style
I’d hesitate if:
- you only want slow, leisurely sightseeing
- you expect entry into major sites for long visits
- you don’t plan to bring a camera and practice
If you’re ready to shoot with intention, this kind of guided masterclass is one of the smarter ways to get Rome out of your camera and onto your memory as real photos you’re proud of.
FAQ
How long is the Rome Photography Masterclass?
It’s approximately 3 hours.
Is this tour private?
Yes. It’s a private tour/activity, so only your group will participate.
Where does the tour start and end?
It starts at Fontana del Colosseo, 00184 Roma RM, Italy, and ends back at the same meeting point.
Which places will we photograph during the session?
You’ll have photo stops around the Colosseum, the Pantheon, the Roman Forum, Trevi Fountain, Piazza Navona, and Castel Sant’Angelo.
Do I need to buy tickets for the stops?
Admission for the listed stops is listed as free for this experience.
Is cancellation free if plans change?
You can cancel for a full refund up to 24 hours in advance of the experience start time.