REVIEW · ROME
Rome Photo Masterclass: Private Tour & Workshop
Book on Viator →Operated by Travel Photo Tours in Rome · Bookable on Viator
Rome is a camera waiting to happen. This private photo masterclass turns famous landmarks into your shots, guided by Marco Bulgarelli. You’ll work through golden hour framing while learning street, portrait, travel, and urban-scene techniques that translate to any trip.
I especially love the hands-on coaching pace: Marco teaches, demonstrates, then helps you fix what you see in the viewfinder. I also like that you’re not stuck only on postcard angles—there’s time for alternative routes and calmer moments around major sights. One consideration: because it’s timed to light and crowd flow, you’ll be walking between stops, so you’ll want steady energy and comfy shoes.
If you’re coming with a camera or just your smartphone, you can still get real, practical guidance. Marco adjusts the session for beginners, amateurs, and advanced shooters, and you’ll get focused attention throughout.
In This Review
- Key highlights you’ll feel during the shoot
- Meet Marco Bulgarelli and set up your photo project at Piazza di Spagna
- Spanish Steps: turning a famous view into a real series (and not just one photo)
- Trevi Fountain: angles, timing, and shots that feel earned
- Pantheon: 15 minutes to build a strong frame
- Piazza del Campidoglio: Capitoline Hill as a photo story
- Monumento a Vittorio Emanuele II: classic and unusual compositions
- Mercati di Traiano: texture, geometry, and Roman atmosphere at Trajan’s market
- Colosseum: many angles in a focused 45 minutes
- Roman Forum: shooting an ancient set using an alternative path
- How the “golden hour” plan changes your photos
- Private-tour value: why this price can work for you
- Timing, weather, and comfort: what to do so you enjoy it
- Personalize your Rome route: Navona, Castel Sant’Angelo, and Vatican options
- Should you book the Rome Photo Masterclass with Marco?
- FAQ
- What type of camera do I need for this photo masterclass?
- Is this tour private?
- Do I need paid admission tickets for the stops?
- When does the tour start?
- What if it rains?
- Can I change the date or cancel?
Key highlights you’ll feel during the shoot
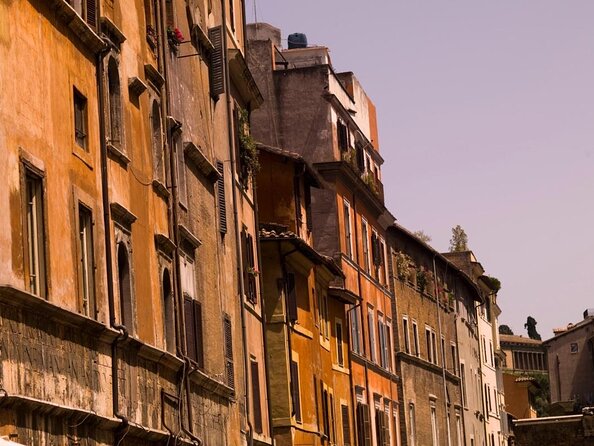
- Golden hour focus with a real plan for what to photograph and how to frame it
- Private, mentor-style instruction from award-winning photographer Marco Bulgarelli
- Hands-on technique + critique, including how to approach people and street scenes
- Smart stop choices from Spanish Steps to Colosseum and the Roman Forum without rushing
- Flexible route options, including Navona, Castel Sant’Angelo, and St. Peter (Vatican)
Meet Marco Bulgarelli and set up your photo project at Piazza di Spagna
Your session starts at Piazza di Spagna (85), a great way to begin because you’re immediately surrounded by strong geometry and layers. Marco kicks things off with a short intro on building a photography project—so you don’t just shoot random photos. Instead, you pick a goal (for example, telling Rome’s mood through people, motion, and angles) and you’ll use that goal as you move stop to stop.
What I like here is the practical structure: Marco covers urban-scene, travel, portrait, and street approaches early, then you apply them quickly. You also get guidelines on how to think like a photographer rather than a checklist tourist. It makes the whole walk feel purposeful.
Possible downside: if you show up with no idea what you want to learn, you might need a minute to settle in. Marco can adapt, but having even one focus—like portrait framing, street storytelling, or composition—helps you get more out of every stop.
You can also read our reviews of more tours and experiences in Rome.
Spanish Steps: turning a famous view into a real series (and not just one photo)
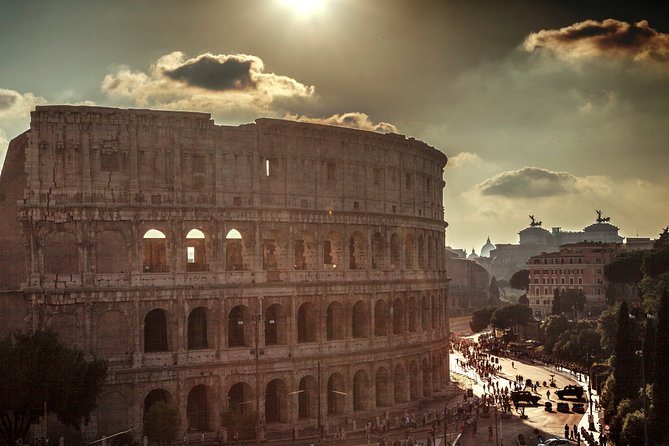
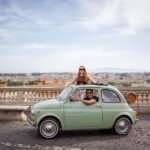
The Spanish Steps stop is short—about 30 minutes—but it’s designed for focused shooting. Marco takes you through an alternative way to shoot the area, which matters because the obvious viewpoints often push you toward the same angle as everyone else.
This is where you’ll practice the fundamentals of composition: where to place the subject in relation to lines, how to control the background so it supports the story, and how to guide the eye through the frame. If you’re working on street or travel photography, this stop helps you learn how to include context without making the photo look cluttered.
One practical point: this is one of those locations where people constantly pass through. You’ll spend time working around that energy instead of fighting it. If you want clean, postcard-perfect shots only, this stop might feel busy. If you want photographs that look alive, it’s a perfect training ground.
Trevi Fountain: angles, timing, and shots that feel earned
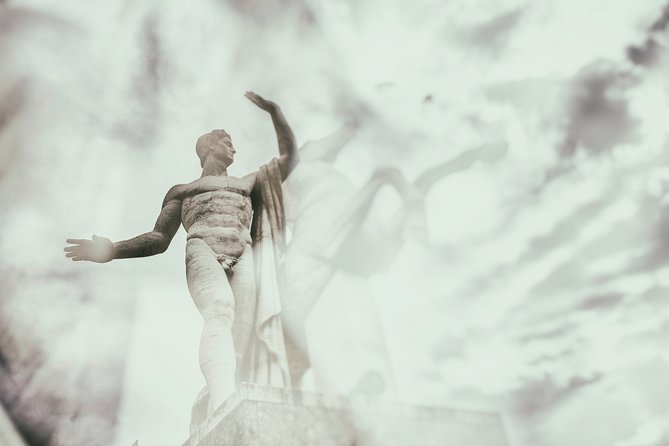
Next comes Trevi Fountain, another “everyone has photos here” location. The difference is Marco’s approach: you’ll shoot from various angles, not just the main front view. You’ll be working in small, deliberate bursts so you can test framing choices and keep what actually works.
Trevi is ideal for practicing travel photography because the scene has everything: scale, detail, movement, and strong visual pull. Marco’s coaching helps you think about how much of the setting you include and how to keep the subject clear. If you’re doing portrait or street style, you’ll learn how to place people near the fountain without turning the whole frame into noise.
Possible drawback: you might need to be patient while positioning. Even with a guided session, this is still a famous spot. The good news is that you’re not stuck waiting passively—you’ll be learning how to use the light and angle changes to your advantage.
Pantheon: 15 minutes to build a strong frame
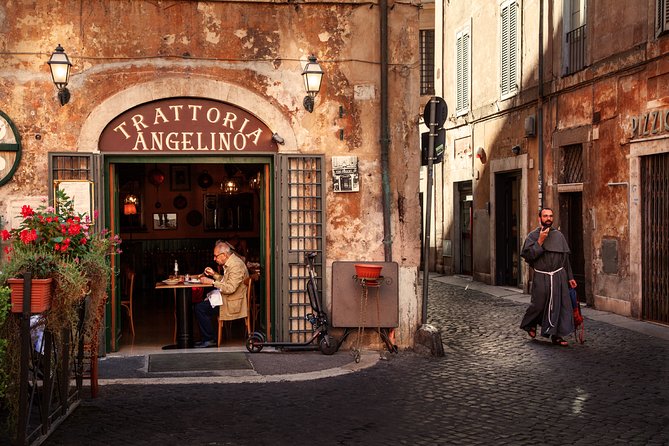
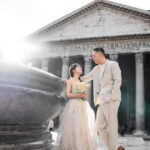
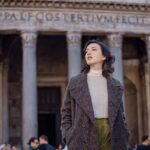
With 15 minutes at the Pantheon, you’re not aiming for an endless photo binge. You’re aiming for one or two strong images and using the time well.
This short stop is great for learning speed. Marco’s style emphasizes getting the composition right fast: subject placement, background management, and using architectural shapes to create a graphic, balanced photo. If you’re shooting with a phone, this is also a helpful test because you’ll learn what to do to get clarity and structure without overcomplicating settings.
The consideration here is simple: 15 minutes goes quickly. If you tend to wander and keep “just looking,” this stop will teach you the value of committing to a frame and then refining it.
Piazza del Campidoglio: Capitoline Hill as a photo story
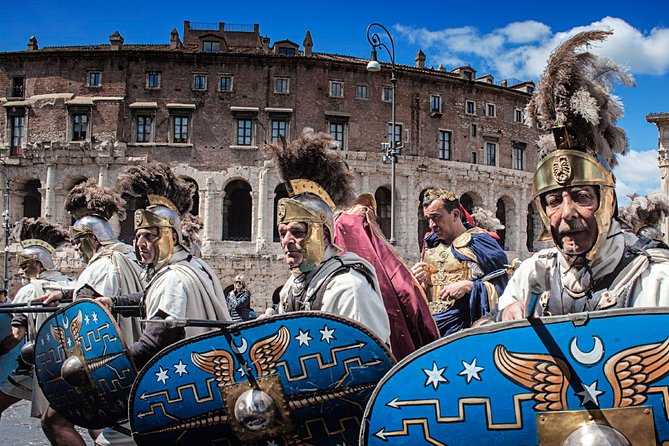
At Piazza del Campidoglio, you’ll shoot the Capitoline Hill and surroundings for about 30 minutes. This is a different vibe from Trevi and the Pantheon. You’ll have a chance to work on composition with broader sightlines and the kind of view that helps your photos feel cinematic.
Marco’s guidance at this stop is especially useful for people who want portraits and street shots with a recognizable Roman setting. You can frame stone terraces, dramatic angles, and the way architecture guides your eye—so your images feel connected to place, not just taken in front of it.
Possible drawback: because the area can involve steps and changing ground levels, bring stable shoes. It’s not hard walking, but the quick movement helps you keep up with good lighting.
Monumento a Vittorio Emanuele II: classic and unusual compositions
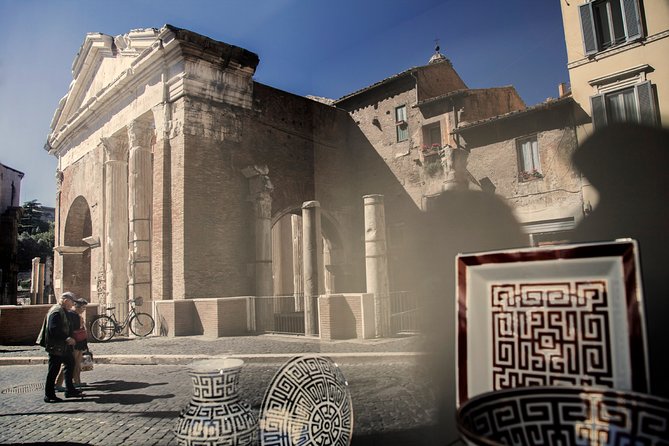
The stop at Monumento a Vittorio Emanuele II is scheduled for 30 minutes. The main advantage is that you’ll be taught to shoot it from many different angles, including some classic options and some more unusual viewpoints.
This is a great place to practice architectural travel photography. Marco’s coaching helps you avoid the common mistake of photographing only the biggest view. Instead, you’ll learn how to use details, perspective shifts, and partial framing to make the monument feel personal and story-driven.
Time note: 30 minutes is enough to test a handful of compositions, but it’s still a sprint. If you want dozens of photos of this monument alone, you may wish you had more time. On the upside, you’ll leave with a variety of images that don’t all look the same.
Mercati di Traiano: texture, geometry, and Roman atmosphere at Trajan’s market
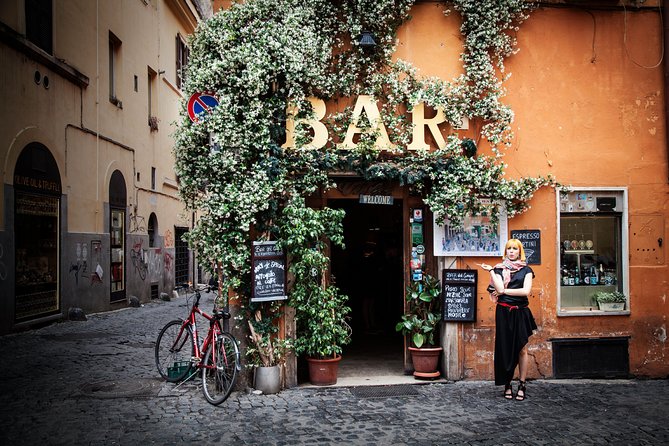
At Mercati di Traiano – Museo dei Fori Imperiali, you’ll focus on the Trajan’s market for about 30 minutes, shooting from various angles again. This stop works well if you’re trying to shift from “big landmark photos” into images that show texture and pattern.
You’ll likely get a better feel for what Marco means by building a photography project. Here, it’s easier to set a theme like repeating lines, arches, shadows, and how the scene layers in depth. If you enjoy photography that feels more tactile than postcard-like, this is one of the more satisfying stops.
Practical note: wear shoes that handle uneven surfaces comfortably. The walk and positioning matter more than you’d think because the details you want require you to get into the right angles.
Colosseum: many angles in a focused 45 minutes
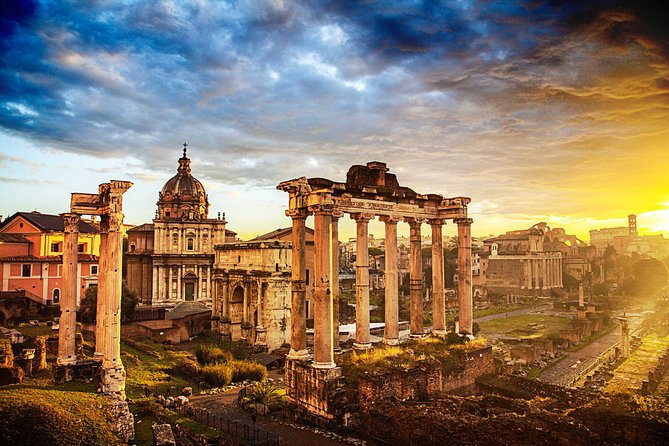
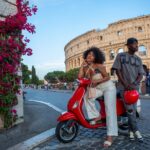
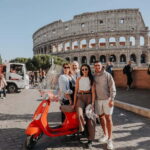
The Colosseum gets the longest spotlight at around 45 minutes. That extra time matters because the best angles can take a moment to find. Marco helps you explore the monument in multiple ways, not just the most obvious viewpoint.
You’ll be practicing how to handle scale—how to include enough structure to feel iconic, but not so much that your image becomes too busy. This is also where portrait and street techniques connect nicely: you’ll learn how to incorporate people and movement so the Colosseum feels like a living scene.
Possible drawback: the Colosseum is famously busy. Your experience will be better if you stay flexible and let Marco steer you toward framing choices that work in real conditions rather than imaginary quiet ones.
Roman Forum: shooting an ancient set using an alternative path
Finally, you’ll work at the Roman Forum for about 30 minutes, shooting “all the Roman Forums” via an alternative way. This is a nice wrap because it pushes you from landmark focus into story focus.
The Forum is perfect for travel photography with narrative. The architecture and open spaces let you frame depth and movement, so your photos can show how you traveled through Rome’s layers. Marco’s coaching helps you avoid the “too wide, too empty” problem and instead guides you toward frames that feel intentional.
Consideration: you’ll be tired by this point if you’ve been chasing shots hard all day. Keep an eye on your feet and let Marco’s guidance keep you efficient. You’ll still end with a strong set of keepsake images without running on fumes.
How the “golden hour” plan changes your photos
This tour isn’t only about visiting monuments. It’s about the timing of light. The session is designed for before and during golden hour, which is when shadows soften and contrast becomes more flattering.
Marco’s coaching connects that light to technique. You learn how to adjust your approach—where to stand, what to include, how to use backgrounds, and how to work with people in the frame. That matters because street photography in Rome is often about seeing small moments while the big monuments sit behind or beside them.
If you’re working with a smartphone, the golden hour can make your photos look more “camera-like” without heavy effort. If you’re using a mirrorless camera or a bigger system, you’ll still benefit because the light makes it easier to get clean composition and pleasing tonality.
One tip worth taking into your own planning: decide what you want to practice before you start—street storytelling, portrait framing, or architectural travel views. It helps you respond faster to Marco’s suggestions.
Private-tour value: why this price can work for you
At $240.05 per person for about 4 hours, you’re paying for something most people don’t get on a standard sightseeing walk: one-on-one attention and real coaching time.
There’s also a value boost in the details. Stops are listed with free admission tickets, and you can stop for gelato, pizza, or coffee at any time (so you’re not trapped in a rigid schedule). A smart perk is that a partner or friend can accompany you for free as long as they’re not participating as the photographer. That can make the cost easier if you’re traveling with someone who wants the sights too.
You should also consider the type of improvement you want. This is best if you want a skill boost you can practice back home—composition choices, street approach, and how to set up portraits and frames. If you only want a basic “see the sights” tour with a nice guide, this might feel more intense than you need.
Timing, weather, and comfort: what to do so you enjoy it
The session start time can shift in the afternoon depending on sunset time. That flexibility is a plus because the lighting is the point. It also means your schedule won’t feel like a rigid factory timeline, but it does require that you stay patient and ready to walk.
Weather helps too. If it rains, the mood becomes more poetic and the photos more expressive. That’s a practical mindset win: don’t assume “bad weather ruins it.” Bring a plan for discomfort if you’re out for a few hours, but don’t treat rain as a deal-breaker.
For comfort, you’ll want comfortable shoes and a small bottle of water. And do yourself a favor: if you need a coffee or gelato break, don’t feel guilty. Marco’s session is built to allow stops, so your shooting time stays fun, not stressed.
Personalize your Rome route: Navona, Castel Sant’Angelo, and Vatican options
One of the nicest features is flexibility. You can personalize the itinerary, including stops such as Piazza Navona, Castel Sant’Angelo, and St. Peter (Vatican) along the river. There’s also an option for a churches tour.
This matters because it lets you align the trip with your photo interests. If you like dramatic church interiors or river reflections, you can steer toward that. If you want more street texture and street portraits, you can adjust the balance.
The practical idea: tell Marco what you want your photo set to look like. If you come with a clear focus, the personalized route can turn a great photo walk into a collection that feels like it was planned just for you.
Should you book the Rome Photo Masterclass with Marco?
I think you should book if you want more than souvenir photos. This is for people who want to learn how to see Rome through street, portrait, and travel framing, with real critique and a teacher who adjusts to your level.
You might skip it if you want zero walking and zero coaching. Even though it’s private, it’s still a photo work session across major areas, so you’ll be active and focused.
If you’re on the fence, here’s an easy decision rule: if you’ll actually practice after your trip, the investment makes sense. If you just want a casual photo stroll, choose a simpler sightseeing tour instead.
FAQ
What type of camera do I need for this photo masterclass?
You can participate with a camera or a smartphone, and the session is suited for beginners, amateurs, and advanced photographers.
Is this tour private?
Yes. It’s a private tour/activity, so only your group participates.
Do I need paid admission tickets for the stops?
The listed stops include admission ticket free for each featured location on the schedule.
When does the tour start?
The afternoon start time could change depending on sunset time, since the session is designed for light during golden hour.
What if it rains?
If it rains, the experience can still be great. The tour notes that rain can create a more poetic mood and more expressive photos.
Can I change the date or cancel?
You can change the date without additional costs. You can also cancel for a full refund up to 24 hours before the experience’s start time.