REVIEW · ROME
Rome Night Photo Tour
Book on Viator →Operated by Travel Photo Tours in Rome · Bookable on Viator
Night Rome changes your camera habits.
This 4.5-hour Rome night photo tour strings together classic sights and a few clever angles so you’re not just snapping, you’re learning. With an instructor who’s earned repeated Travel and Hospitality Awards, you’ll practice techniques while moving through the Colosseum area, Vatican sites, and the ancient core of Rome. In recent runs, the teaching has been handled by guides like Marco (and sometimes Luca), which matches the vibe you want: patient coaching, not a rushed photo walk.
I especially like two things: you get real instruction for different camera levels, and the route is built around night lighting, not daytime crowd-chasing. The group stays small (max 4), so you can get hands-on help with composition and settings, even if you’re using your phone. Also, your partner or friend can come along free of charge if they’re not shooting, which is a nice way to turn your “tour” into shared time.
One consideration: you’ll be out for a good chunk of time, and it’s a mix of walking and stopping often. If you hate night air, strong steps, or long outdoor sessions, plan accordingly (comfortable shoes and a water bottle aren’t optional). And since there’s no hotel pickup, you’ll start at the meeting point and end at/near the Colosseum area before your included car drop-off.
In This Review
- Key Things That Make This Night Photo Tour Worth Your Time
- Why Rome Looks Different After Dark (and Why That Matters for Photos)
- Start Point at Napoleonic Museum: Arrive Ready for Twilight Shooting
- Stop 1: Colosseum From Two Angles (Classic and Unusual)
- Stop 2: St. Peter’s Basilica With a Night Technique Twist
- Stop 3: Castel Sant’Angelo During Blue Hour
- Stop 4: Roman Forum and Palatine Hill Without the Usual Stare-and-Snap
- Stop 5: Vittorio Emanuele II Angle Play
- Stop 6: Piazza del Campidoglio for Storytelling Frames
- Stop 7: Trajan’s Market and Imperial Forums From Unusual Spots
- Optional Add-Ons: Trastevere, Pantheon, Spanish Steps, Trevi, Piazza Navona
- The Instructor Factor: Patient Coaching That Works for Cameras and Phones
- Transport, Drop-Off, and the Real Comfort of Not Getting Lost
- Price and Value: What $217.69 Buys You at Night
- Who Should Book This Night Photo Tour
- Should You Book It? My Practical Verdict
- FAQ
- What is the duration of the Rome Night Photo Tour?
- Where does the tour start, and where does it end?
- Does the tour include hotel pickup?
- What time does the tour start?
- Is a camera required?
- How many people are in the group?
Key Things That Make This Night Photo Tour Worth Your Time
- Small group (max 4) means you’re not fighting for attention when your camera needs help
- Tripod included so you can actually shoot sharper night images (and not just wish you could)
- Free admission tickets at the stops listed, which matters when your time is tight and the light is changing fast
- Two-angle Colosseum shots plus unusual viewpoints elsewhere, so you leave with more than the standard postcard
- Phone-friendly coaching: you don’t need a big camera to follow along and improve your results
- Hotel drop-off included after the tour, which makes the evening easier on your legs
Why Rome Looks Different After Dark (and Why That Matters for Photos)
Rome after sunset is its own photo subject. The buildings go from flat to sculpted, because the light comes from streetlamps, building illumination, and the glow off stone. That shift forces you to think differently about exposure, steadiness, and framing. This tour leans into that reality instead of pretending you can get great night photos by standing in the same spot as everyone else.
The other big win: fewer people. Even on famous streets, night hours can feel calmer, which gives you space to set up a shot without constant interruptions. That calmer pace helps your brain do what good photography needs: slow down, look, choose, and then refine.
And yes, weather can help. If it rains, the mood can turn dramatic, with wet stone reflecting lights. The tour also notes that rain only adds atmosphere, which is exactly what you want when you’re chasing photographic results, not just sightseeing checkboxes.
You can also read our reviews of more tours and experiences in Rome.
Start Point at Napoleonic Museum: Arrive Ready for Twilight Shooting
You meet at the Napoleonic Museum, at Piazza di Ponte Umberto I, 1 (near public transportation). That matters because a night tour is all about timing, and getting to the meeting point without stress helps you start focused instead of flustered.
Start times change by season: from November to March, the tour starts at 5:00 pm; from April to October, it starts at 7:30 pm. The operator also notes the start time can shift based on twilight. Translation: you’re not waiting around for the sky to behave; you’re built around when light turns photogenic.
What I suggest: arrive a few minutes early, charge your phone fully even if you’re bringing a camera, and take a breath. Night photography is easier when you’re not already running on fatigue.
Stop 1: Colosseum From Two Angles (Classic and Unusual)
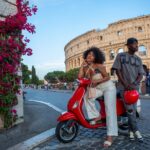
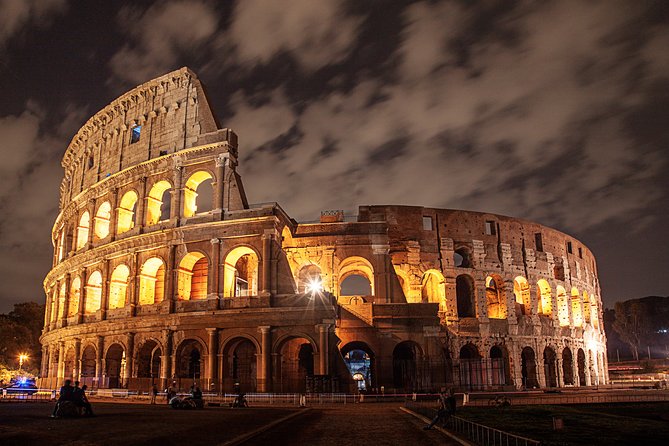
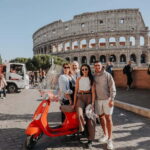
The tour begins at the Colosseum, and you’ll shoot it from two different angles—one classic, one more unusual. That design choice is smart. The classic view helps you capture that instantly recognizable shape. The unusual angle helps you avoid duplicate photos and adds the kind of visual story that makes an image feel personal.
You get about 30 minutes here, with free admission ticket included. In practice, that time slot is long enough to test a setup, try a wider frame, then tighten your composition. Night photography often rewards small changes: a slightly different position, a taller camera angle, or shifting the frame so the arches lead your eye.
If you’re using a tripod (and you should), pay attention to where you place it. Stable footing beats fancy settings. Also, don’t forget that the Colosseum lighting can create high-contrast areas—your instructor will guide you through what to do with that.
Stop 2: St. Peter’s Basilica With a Night Technique Twist
Next comes St. Peter’s Basilica at the Vatican, with 45 minutes and free admission ticket. This isn’t just another “big church, take a photo” stop. The plan calls for shooting St. Peter using a different technique, which is exactly what keeps a night photo tour from feeling repetitive.
The time window is longer than the Colosseum block, and that signals what you should expect: you’ll likely test method A, method B, then refine. Night scenes inside and around major monuments can be tricky because light sources are bright and shadows can look heavy. That’s where technique coaching pays off.
Even if you’re a beginner, you can benefit. The tour is described as suitable for beginners, amateurs, and advanced photographers, so you should be able to follow along with your gear, whether it’s a DSLR/mirrorless or just your smartphone.
Stop 3: Castel Sant’Angelo During Blue Hour
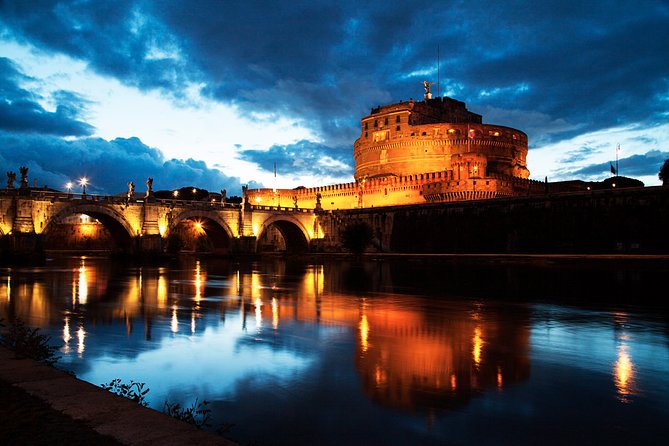
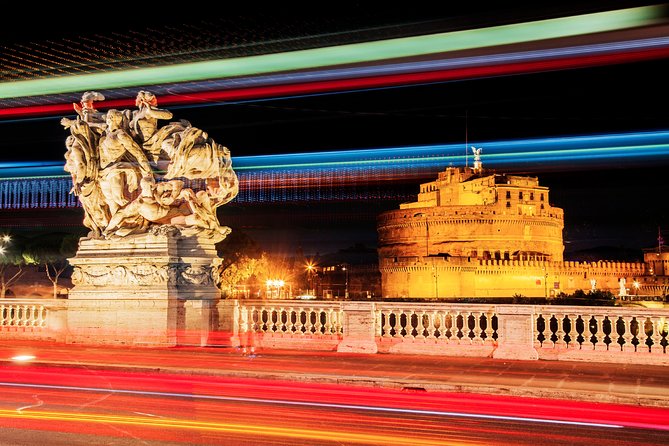
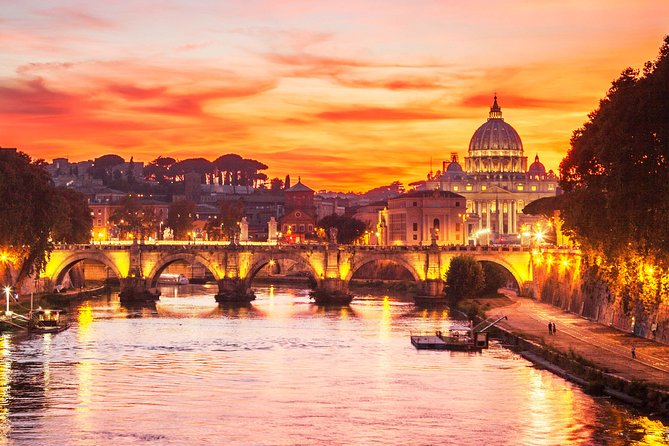
Then you move to Castel Sant’Angelo, focusing on the castle, the bridge, and the river from exclusive spots during the “blue hour.” You get about 30 minutes.
Blue hour is the sweet spot when the sky hasn’t gone fully dark, but the lights are on enough to make reflections and edges pop. The tour’s emphasis on “bridge and river” makes sense because water and stone turn lights into a softer, more cinematic look.
This is also the kind of stop where a tripod becomes a game-changer. Longer exposures and steady framing usually yield cleaner results at night. And if you’re using a phone, steady support still helps a lot. The tour provides a tripod, but you’ll also learn how to set up safely and how to avoid shaky shots.
The reviews also mention moments where the instructor actively tried to improve access for better framing (like finding a more workable shooting position). That attention to getting the shot—not just arriving at the landmark—matters.
Stop 4: Roman Forum and Palatine Hill Without the Usual Stare-and-Snap
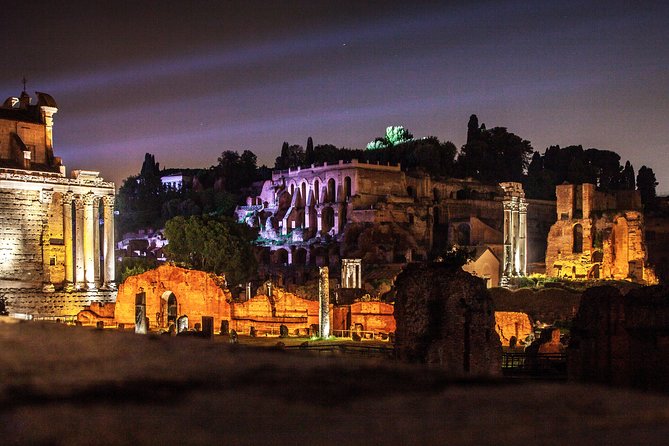
The tour heads into the ancient core with Roman Forum next (about 30 minutes) and Palatine Hill afterward (about 20 minutes). The Forum stop is described as photographing all the forums using an alternative way, which usually means you’ll move beyond the standard “front-facing ruins” view.
This portion is valuable because night transforms archaeology. Columns and broken walls become silhouettes. Lines and layers become more visible when the sun isn’t flattening everything. It’s an area where composition coaching really helps, because small framing changes can make the scene look more intentional.
You’ll likely photograph around 15–20 different scenes total across the whole night. That number is a good sign: it’s enough variety to keep things interesting, and still not so fast that your brain can’t absorb technique.
Stop 5: Vittorio Emanuele II Angle Play
One of the shorter stops is Monumento a Vittorio Emanuele II, with about 10 minutes and a unique point of view. Short blocks like this are where a tour either fails or shines.
Here, the idea is that you’ll learn how to see a monument differently in a limited time. You don’t get stuck in one pose for too long. Instead, you learn to find the right framing quickly, then grab the shot before light shifts again.
Stop 6: Piazza del Campidoglio for Storytelling Frames
At Piazza del Campidoglio, you’ll shoot Capitoline Hill and its surroundings, with about 45 minutes. This is one of the more time-heavy stops, and that usually means you’ll have multiple targets in the same area: foreground structure, mid-ground angles, and distant lines.
Night is where piazzas start to feel theatrical. Shadows deepen, and the geometry of the square becomes more noticeable. This is also an ideal place to practice “story” photos—images where the viewer can tell what you were thinking, not just what you saw.
From a technique standpoint, you might also be asked to think about depth and perspective. Even if your camera settings are basic, framing choices can make your photos look more “composed” and less accidental.
Stop 7: Trajan’s Market and Imperial Forums From Unusual Spots
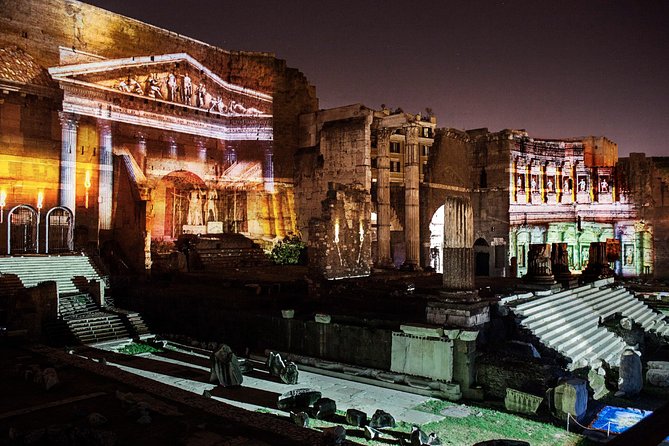
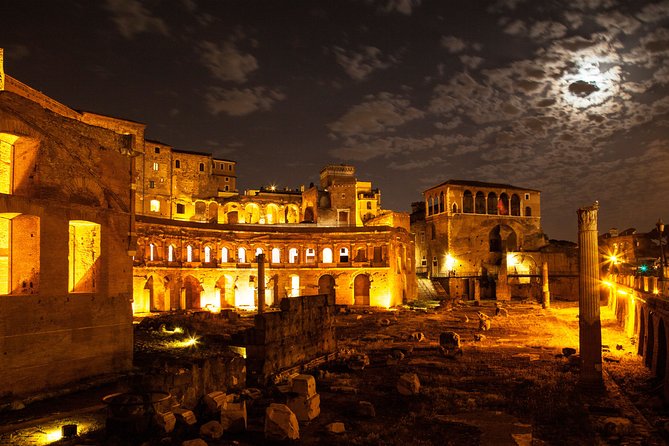
The tour finishes with Mercati di Traiano – Museo dei Fori Imperiali, focusing on Trajan’s Market and Forum from unique spots. You get about 15 minutes.
This stop is shorter, but it fits the flow: by now, you’ve learned how to work at night, and you can make quicker decisions about what to shoot. The Imperial Forums area often rewards careful positioning because the architecture can line up into strong shapes.
Also, you’ll likely appreciate finishing here if you care about photographs that look different from the typical Rome bucket list. A well-framed night scene in the Forum zone can look almost cinematic.
After the tour, you’ll have hotel drop-off by car included (but the car drop-off is not described as operating outside Rome).
Optional Add-Ons: Trastevere, Pantheon, Spanish Steps, Trevi, Piazza Navona
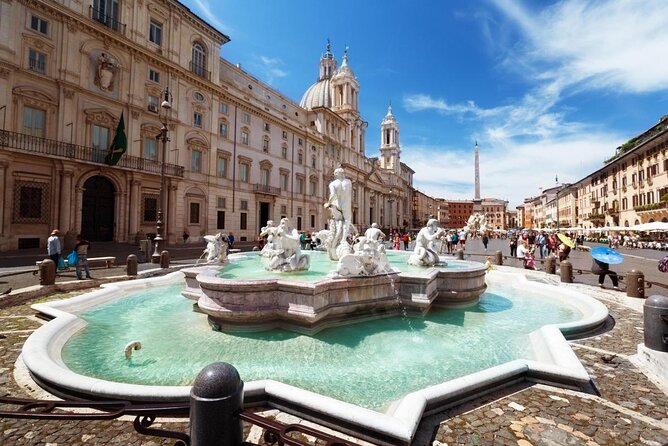
If you request it, the experience can include one or more additional neighborhoods or landmarks such as Trastevere (with off-the-beaten-path glimpses), plus options for the Pantheon, Spanish Steps, Trevi Fountain, and Piazza Navona.
How to think about this: optional stops are great if you want a more personal Rome evening that includes “must-see” images in addition to the technical training. But make a realistic plan. Night light changes fast, so adding multiple add-ons can affect how much time you spend at each base location.
If you’re a beginner and you care most about learning photography, you might want to keep add-ons simple. If you’re already comfortable with the basics and mostly want iconic night shots, pick the one add-on that matches your photo priorities.
The Instructor Factor: Patient Coaching That Works for Cameras and Phones
The repeated theme in the feedback is instruction that stays practical and patient. Names that show up in the provided comments include Marco and Luca, and the teaching style described is consistent: the guide helps you understand composition, not just where to stand.
You should expect guidance on ideas like rule of thirds, depth of field, and other core composition concepts. The tour also notes that participants photograph about 15/20 different scenes, so you get multiple chances to practice what you’re being taught.
This is also where the tripod inclusion really matters. Night photography often depends on steady support. If you’ve never used a tripod at night, you might learn quickly why it’s the difference between soft blobs and sharp building lines.
And yes, the coaching is set up for phones too. Several comments point out that people used iPhones and Android cameras and still learned a lot from the same instruction. So don’t assume you need expensive gear to get value.
Transport, Drop-Off, and the Real Comfort of Not Getting Lost
You’re not left to find everything on your own. The tour includes transport by private vehicle, and it includes return by car to your hotel after the tour (drop-off is included). Hotel pickup is not included, so plan on making it to the meeting point yourself.
Comfort-wise, the tour is designed for a manageable night: good footwear, short shooting sessions, frequent stops to reset. The operator recommends comfortable shoes and a small bottle of water, which is sensible advice for an evening with lots of standing, walking, and camera work.
Meeting near public transportation is helpful if your hotel is slightly inconvenient for the route.
Price and Value: What $217.69 Buys You at Night
At $217.69 per person, this isn’t a budget “stand near a landmark” tour. But it’s not just a guiding fee either.
Here’s the value picture:
- you get a professional photographer guide with teaching focus
- tripod is included
- the group stays small (max 4), which boosts how much personal attention you actually get
- free admission tickets are listed for the main stops
- you get private vehicle transport and hotel drop-off by car
When night photography goes wrong, it’s usually because you don’t have the time or support to practice. This experience is structured so you shoot a lot (15–20 scenes), learn while shooting, and then get home easily.
If you’re the type who likes photos but struggles with settings, framing, or consistency, this price starts to make sense. If you just want a casual walk and a few selfies, you may find it more than you need.
Who Should Book This Night Photo Tour
This tour fits best if you:
- want to learn night photography techniques, not just collect monument views
- travel with a partner who might not care about the camera (they can come along free as a non-photographer)
- care about small-group attention (max 4)
- like Rome at quieter hours and want photos that look more intentional than typical tourist snapshots
It may not be your best match if you dislike walking/standing at night, have very limited mobility, or want minimal photo instruction.
Minimum age is 12, so it can work for older teens with good stamina, but it’s still a night session.
Should You Book It? My Practical Verdict
Yes, I think you should book it if you want Rome photos that look like you meant them—taken at night, with the right angles, and guided by someone who teaches composition and settings. The combination of small group size, tripod included, and multiple structured stops makes it a lot more efficient than trying to figure night photography out solo.
If you’re on the fence, make the decision based on one question: do you want to improve your photos during the trip? If the answer is yes, this tour is built for exactly that. If your goal is only to tick off sights and you don’t care about technique, you can probably get a cheaper version on your own.
FAQ
What is the duration of the Rome Night Photo Tour?
The tour runs about 4 hours 30 minutes.
Where does the tour start, and where does it end?
It starts at Napoleonic Museum, Piazza di Ponte Umberto I, 1, 00186 Roma RM, Italy and ends at the Colosseum, Piazza del Colosseo, 1, 00184 Roma RM, Italy.
Does the tour include hotel pickup?
No. Hotel pickup is not included. You’ll meet at the start location, and then you’ll get hotel drop-off by car after the tour.
What time does the tour start?
From November to March, it starts at 5:00 pm. From April to October, it starts at 7:30 pm. Start time can change depending on twilight.
Is a camera required?
No. The tour is suitable for beginners and covers techniques for both cameras and phones. The tripod is included, and the instruction supports your gear level.
How many people are in the group?
The maximum group size is 4 travelers.