REVIEW · HONOLULU
Oahu Island Photography Tour
Book on Viator →Operated by Blue Hawaii Photo Tours · Bookable on Viator
Oahu looks different through a camera. This full-day small-group photo workshop from Waikiki blends real shooting tips with island history, sweeping coasts, and winter surf drama. I especially like the photo coaching that works for phones and DSLRs, and the way the guide keeps steering you toward what to focus on. The main thing to consider: you bring your own camera or phone, and the day is packed enough that you may not get every wishlist shot (like specific waterfalls).
You’ll start with hotel pickup in an air-conditioned van, then spend the day moving through different kinds of light and terrain: sacred sites, rainforest-y scenery, beaches, and the North Shore when the waves are up. Expect stops to vary by day and season, but the themes stay the same—composition, framing, shutter speed, and practical ways to get sharper, brighter, better photos.
A quick note on guides: people consistently mention instructors like Jenny, Evan, Marie, Pattie, and Jason—often praising them for pairing photography teaching with local Oahu context, and for giving specific help for different experience levels (including phone users). Weather can be cloudy, but the tour runs in all conditions, so you’ll want the right shoes and sun/rain cover.
In This Review
- Key highlights you’ll feel right away
- From Waikiki pickup to North Shore views: how the day actually flows
- The best part: different photography challenges, in one day
- Photo instruction that doesn’t talk down to you
- Tripods included: why that’s a big deal for real photos
- Where you’ll go: sacred sites, rainforest scenes, and North Shore surf
- What makes the North Shore portion so valuable
- Wildlife moments (when conditions are right)
- A sample day with stops you can picture before you book
- Morning: learning the “how” while you’re still fresh
- Midday: lunch on your own at the North Shore
- Afternoon: surf energy, motion, and the shots you’ll want to print
- Group size: small enough for help, big enough to feel social
- What to bring (and what you can safely skip)
- Price and value: $150 for instruction plus gear and island driving
- The practical downside to price: lunch is extra
- Who should book this Oahu photography tour?
- Quick, balanced checks before you hit book
- Should you book? My straight answer
- FAQ
- Where does the tour start and end?
- How long is the Oahu photography tour?
- Is hotel pickup included?
- What photography gear is provided?
- Do I need to bring my own camera?
- Is lunch included?
- How many people are in the group?
- Does the tour run in bad weather?
- Is the tour good for beginners?
- What’s the cancellation refund window?
Key highlights you’ll feel right away
- Small group, real feedback with a cap of up to 7 people per booking (and the activity notes a max of 6)
- Tripods included, which makes steady shots much easier for night scenes, slow shutter effects, and sharper detail
- North Shore winter surf potential, including the Pipeline area when conditions and timing allow
- Phone-friendly coaching, including tips for settings and how to compose with a smartphone
- History + photography in the same stops, not two separate parts of the day
- Wildlife sightings are possible, including monk seals and green sea turtles
From Waikiki pickup to North Shore views: how the day actually flows
This is an all-day Oahu photography tour—about 8 hours on the schedule, with a description that puts it around 8.5 hours. You begin in Waikiki, where you get hotel pickup in a spacious, air-conditioned van. That matters because Oahu traffic can chew up a day fast, and you’re here to shoot, not sit.
The day is built around momentum: drive to a spot, stop long enough to set up, shoot, then move on. You’ll get guidance at each stage, and the guide will help you notice the details that most people walk past—things like how to position yourself for better framing, how to use light in real time, and when to slow down shutter speed for motion.
You also get a natural rhythm to practice. Early on, the guide helps you translate ideas into actions. Later, you put that into practice on the coast, on surf beaches, and in places where textures and sacred details reward a slower look.
The best part: different photography challenges, in one day
A single “pretty viewpoint” doesn’t teach much. This tour is more useful because it changes what you face—bright sun, shaded spots, strong ocean contrast, and scenes where moving subjects (like surfers) call for different shutter speeds and focus strategies.
That’s why it works for a beginner with a phone and also for someone with a DSLR. Everyone gets new “what to try next” moments, not just the same tip repeated at every stop.
Photo instruction that doesn’t talk down to you
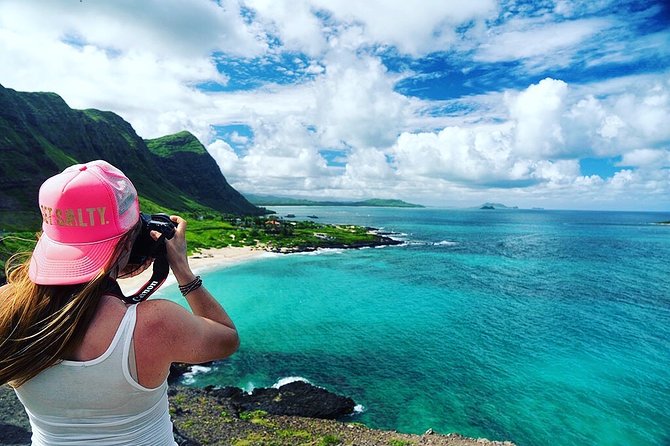
This tour is designed as an in-motion workshop. The pro guide explains photography in practical terms: framing, shutter speed, focal points, and how light changes what your camera (or phone) can do.
If you’re new, the help tends to be about making the basics feel usable fast: what to put in the frame, how to avoid blowing out highlights, and how to steady yourself for sharper shots. If you already know manual settings, you can push further by choosing techniques for motion and contrast—again, with help deciding what to try at each stop.
One theme that shows up repeatedly in guide feedback is targeted advice. People mention help with SLR and point-and-shoot settings, plus phone photography tips. Guides named in reviews include Jenny, Evan, Marie, Pattie, and Jason, and many comments point out that they answered questions on the spot—especially when someone wanted help dialing in settings for specific scenes.
Tripods included: why that’s a big deal for real photos
Tripods are listed as included. That’s not a minor perk. It turns the tour into an actual learning lab for steadier compositions and longer exposures. You can get cleaner shots in low light, try slower shutter effects for waves, and experiment with keeping your framing consistent as you explore angles.
If you usually rely on hand-held shots, this is the easiest way to level up without buying extra gear.
Where you’ll go: sacred sites, rainforest scenes, and North Shore surf
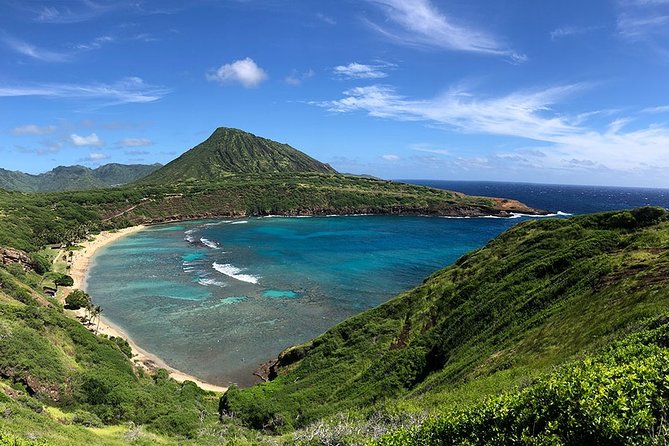
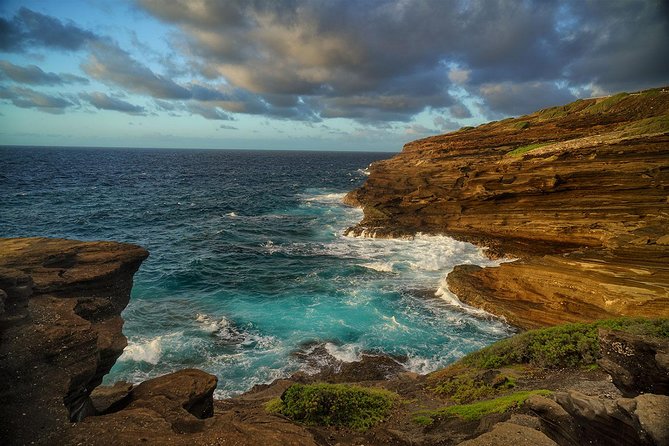
The exact stops vary by day and season, but the tour consistently covers the kinds of places that create variety in your photos. Think coastlines, beaches, and sacred Hawaiian sites (heiaus), plus more dramatic terrain like mountain valleys and waterfalls when time allows.
What makes the North Shore portion so valuable
The highlights mention famous winter surf beaches on the North Shore. In practice, this is where you’ll face some of the trickiest, most rewarding photography: bright sand and sky, higher contrast ocean scenes, and often action in the water.
One review mentions making it up to the Pipeline area, and multiple mentions connect the day to surf energy plus wildlife stops. Even if you’re not there on the exact day for world-famous waves, the North Shore still gives you huge visual scale and motion.
Wildlife moments (when conditions are right)
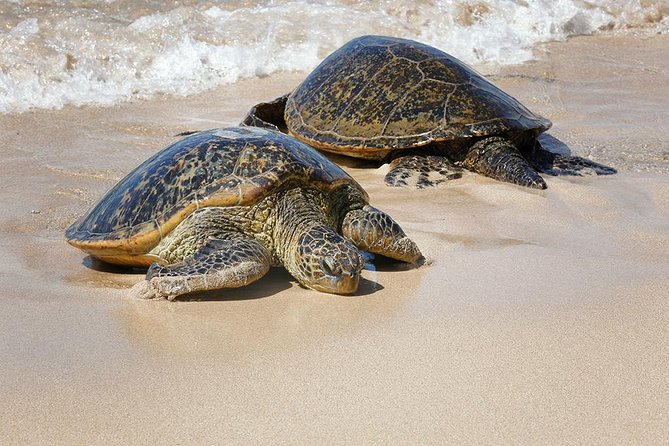
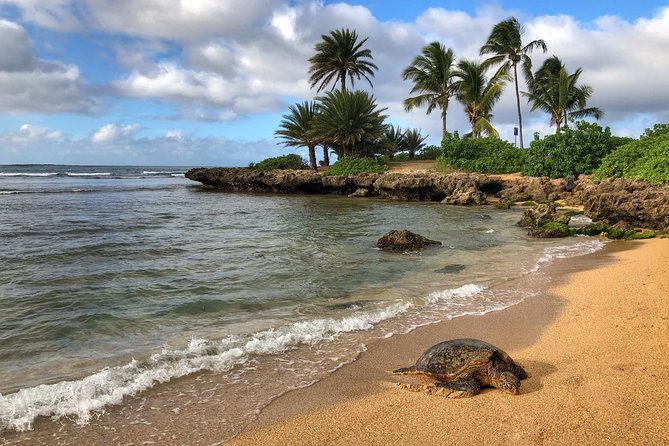
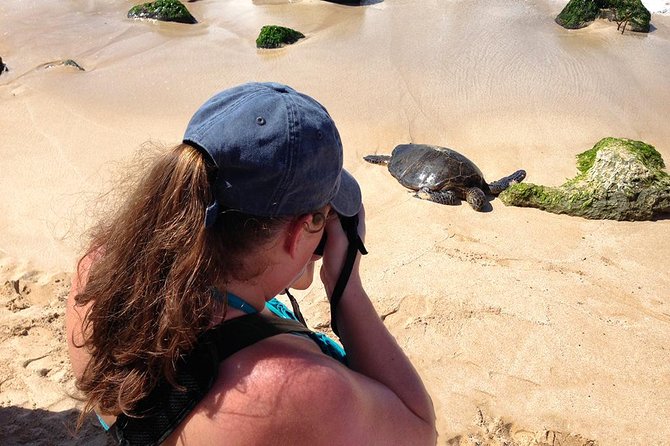
The tour description specifically calls out looking for Hawaiian monk seals and green sea turtles. Reviews add detail that sea turtles were spotted around Turtle Beach during one outing. Wildlife sightings aren’t guaranteed, but the guide’s focus on where to look can make a difference compared with wandering on your own.
And even when you don’t see animals, these stops shape your shooting: you’ll be on the right beaches, at the right angles, with the right light.
A sample day with stops you can picture before you book
You’ll depart from Waikiki in the morning and spend the day moving around the island. There’s a lunch break around halfway through the tour, and then you head toward the North Shore surf beaches.
Since destinations shift, I can’t promise a waterfall every time or a specific beach every day. But you can plan for a structure like this:
Morning: learning the “how” while you’re still fresh
Early stops are where you’ll likely get the most instruction. This is when the guide helps you understand how light affects your exposure and why certain compositions work better than others. You’ll also have a better chance to settle into the day’s pace and ask questions before the drive time stacks up.
Midday: lunch on your own at the North Shore
Lunch isn’t included, and that’s pretty normal for tours like this. Plan to budget extra and keep your expectations flexible. The tour description says there will be a break for lunch on the North Shore so you can relax and taste local flavors.
One review mentions a local lunch truck, another mentions a coffee roasting facility snack stop, and that tells me the day often includes small food detours that keep things enjoyable between photo sessions.
Afternoon: surf energy, motion, and the shots you’ll want to print
After lunch, you shift from learning basics to applying them. Here’s where shutter speed and focus decisions matter most. Surfers and waves give you motion you can photograph intentionally—either with a fast shutter for crisp action or a slower one for flowing movement.
If you’re shooting with a smartphone, this is also the time to use the guide’s tips on what settings and modes can help you get better results when the light is intense.
Group size: small enough for help, big enough to feel social
The tour is capped at a small number of people. It’s listed as a maximum of 7 per booking, and the activity info also notes a max of 6 travelers. Either way, that small group size is part of the value.
You’ll get individual attention when you need it, like when the guide spots that your horizon is slightly off, your framing is too cluttered, or you’re missing a setting that matters for motion. It’s also easier for the guide to adjust the pace for the group without losing everyone.
If you prefer a calmer, less crowded experience, this is exactly the kind of tour size that lets you actually learn.
What to bring (and what you can safely skip)
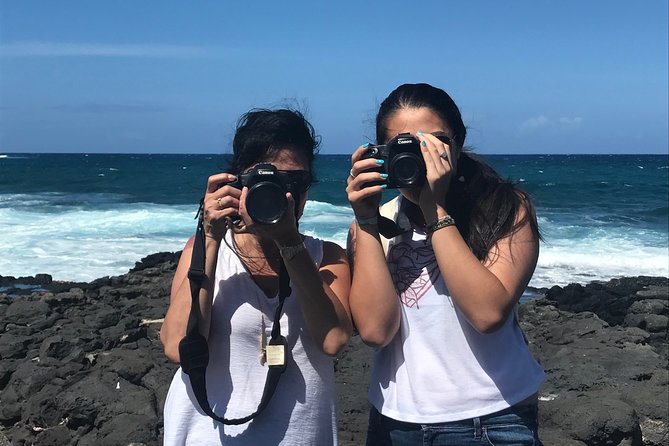
You’re required to bring your own camera or smart phone. The tour provides tripods, so you don’t need to show up with one—thankfully, because packing one on a vacation can be a pain.
For clothing and gear, the advice is straightforward:
- wear comfortable closed-toed walking shoes
- bring a hat and sunscreen
- dress appropriately since it runs in all weather conditions
That weather clause is important. You’re on Oahu, and clouds and mist can change the look of the island fast. A cloudy first half of the day is mentioned in reviews, but the day still included the right spots and even sea turtle sightings.
If you’re coming from Waikiki, this matters even more: you’ll likely be in and out of vans and walking short-to-medium distances in changing light.
Price and value: $150 for instruction plus gear and island driving
At $150 per person, the value depends on what you’re trying to get out of the day.
If your plan is just to get a few scenic photos, you could do cheaper on your own. But if you want actual improvement—like learning how to set up shots, how to use light, and how to handle motion—then this price starts to make sense fast. You’re paying for:
- hotel pickup and drop-off
- a professional guide
- tripods
- a day of driving to multiple photo-friendly areas, including North Shore winter surf beaches
- ongoing coaching for different skill levels, including phone tips
That’s also why many people say doing the tour early in the trip can help, because the instruction isn’t just for that day. You walk away with ideas you can try again later around Oahu.
The practical downside to price: lunch is extra
Lunch isn’t included. Not shocking, but budget for it. If you’re comparing options, remember you’re also paying for a full-day format, not a quick half-day photo walk.
Who should book this Oahu photography tour?
This is a great fit if you want:
- hands-on photo instruction with real-world practice spots
- coaching for both cameras and smartphones
- a guided Oahu day that blends scenery with learning
- small-group attention (not a busload)
It’s especially useful if you’re the kind of person who gets home photos that feel flat and wants a guide to fix the process—framing, light, and motion settings.
If you’re traveling as a couple where one person cares a lot about photography and the other just wants a great island day, the tour seems to work. Several comments mention that non-photography people still enjoyed the locations and learned enough to feel satisfied.
Quick, balanced checks before you hit book
Do this tour with realistic expectations:
- Bring your own camera/phone. Tripods are included, but gear is still on you.
- Lunch is on you.
- The day is long enough that you may not match every personal wishlist item (like a specific waterfall stop).
- Weather can shift what you see, but the tour runs in all weather.
Also, since destinations vary, your best strategy is to care more about learning the process than chasing one exact shot. That way, even a cloudy day turns into useful practice.
Should you book? My straight answer
Book this Oahu photography tour if you want a guided day that teaches you how to photograph the island, not just where to stand. The combination of small-group teaching, tripods included, and North Shore surf scenes makes it a strong value for $150, especially for beginners who need structure and for enthusiasts who want better decision-making on light and motion.
Skip it if you’re looking for a self-guided sightseeing day with no real instruction, or if you only care about one specific type of scene and you’re willing to handle everything yourself.
FAQ
Where does the tour start and end?
The tour starts in Waikiki with hotel pickup and ends with hotel drop-off in Waikiki.
How long is the Oahu photography tour?
It runs about 8 hours (often described as a full-day session around 8.5 hours).
Is hotel pickup included?
Yes. Hotel pickup and drop-off are included.
What photography gear is provided?
Tripods are included, but you need to bring your own camera or smart phone.
Do I need to bring my own camera?
Yes. You’ll need to bring your own camera or smart phone.
Is lunch included?
No. Lunch is not included, but there is a break for lunch on the North Shore.
How many people are in the group?
The tour is described as maximum 7 people per booking, and the activity notes a maximum of 6 travelers.
Does the tour run in bad weather?
It operates in all weather conditions, but you should dress appropriately.
Is the tour good for beginners?
Yes. It’s suitable for all skill levels, from beginners to advanced photographers, and it includes guidance for phone users too.
What’s the cancellation refund window?
You can cancel up to 24 hours in advance for a full refund. If you cancel less than 24 hours before the experience starts, it isn’t refunded.