REVIEW · OSLO
Free Oslo Photo Tour: Iconic & Instagrammable Spots
Book on Viator →Operated by Oslonature · Bookable on Viator
Oslo looks great through a camera. This 2-hour photo tour is built for real-life posing help, not just standing and hoping for good light. You get pro direction in English, quick stops designed for photos, and free admission at every listed photo stop.
What I like most is how the photographer, Margarita, helps you feel comfortable in front of the camera. She gives clear prompts, pays attention to lighting and backgrounds, and guides you into poses that look natural instead of stiff.
The main drawback is also the nature of the format: it’s a fast, city-center sprint. Each stop is short, so if you want lingering time for deep museum exploring, this tour is likely too quick.
In This Review
- Key highlights to know before you go
- Oslo Photo Tour Logistics: 2 Hours, Mobile Ticket, Private Group
- Getting Photo-Ready With Margarita: Posing That Doesn’t Feel Forced
- Stop 1: Oslo Opera House Photo Time With a Big-Shape Backdrop
- Stop 2: Munch in 10 Minutes for a Quick, Specific Shot
- Stop 3: Barcode Oslo With 40 Minutes to Play With Backgrounds
- Stop 4: Akrobaten Pedestrian Bridge for a Final Quick Photo Finish
- What Makes This Tour a Smart Value for Your Money
- Who This Tour Suits Best (And Who Might Skip It)
- Should You Book This Free Oslo Photo Tour?
- FAQ
- How long is the Free Oslo Photo Tour?
- Where does the tour start?
- Does the tour end back at the meeting point?
- What photos stops are included?
- Is the tour offered in English?
- Is there an admission fee for the stops?
- How do I get my ticket?
- Is this a private tour?
- What is the cancellation policy?
Key highlights to know before you go
- Central photo stops in ~2 hours: four iconic areas, kept moving with short, focused time blocks
- Margarita’s posing coaching: you’ll get direction that helps if you usually feel awkward in photos
- Creative attention to light and backgrounds: she’s actively looking for angles that flatter and photograph well
- Free admission at every photo stop: you’re paying for guidance, not entry fees
- Private experience for your group: only your group participates, so you’re not competing with strangers
Oslo Photo Tour Logistics: 2 Hours, Mobile Ticket, Private Group
This tour runs for about 2 hours and ends back where it starts. You meet at Jernbanetorget 1, 0154 Oslo, which is handy because it’s central and easy to reach by public transportation.
You’ll book in advance and receive confirmation at the time of booking. You also get a mobile ticket, so you’re not dealing with paper vouchers while you’re hunting for the next photo spot.
The tour is offered in English, and it’s a private experience, meaning only your group participates. That matters because it usually leads to less waiting, more direct attention, and an easier time asking questions about how to pose or what to try next.
One more practical point: the listed stops are free for the photo experience. That’s real value in Oslo, where paid entries can add up quickly. Here, your money goes into the photography guidance and the route that strings together the most camera-friendly sights.
Getting Photo-Ready With Margarita: Posing That Doesn’t Feel Forced
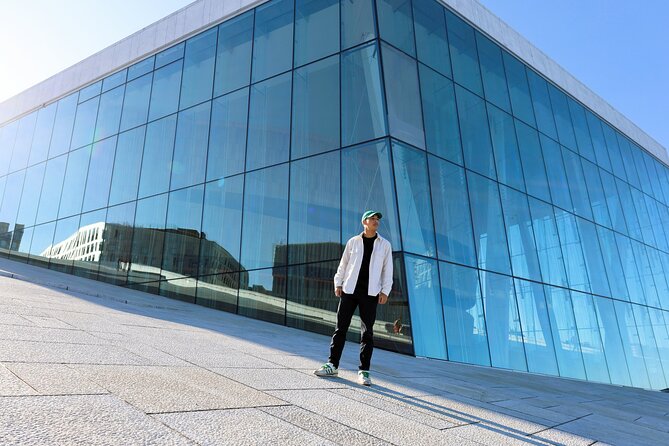
The best part of this tour is how it handles the hardest part for most people: getting a photo that looks like you, not like you’re enduring a school portrait.
Margarita is described as friendly, professional, and intuitive. In practice, that means she doesn’t just point at landmarks and hope you figure it out. She helps you relax, gives simple directions, and works with you so you can stop thinking about the camera and start enjoying the moment.
From the feedback you can expect three things:
- Clear directions that cut through the awkward moments
- Creative use of lighting and backgrounds so your images look intentional
- A calm pace that makes busy areas feel manageable for posing
If you want your photos to look great, arrive ready to move. Wear comfortable shoes, because this is a walking photo route. Also, think about what you want to communicate visually: a classic travel look, an artsy vibe, or something more playful. Margarita’s approach seems designed to help you reach that goal without overthinking it.
Stop 1: Oslo Opera House Photo Time With a Big-Shape Backdrop
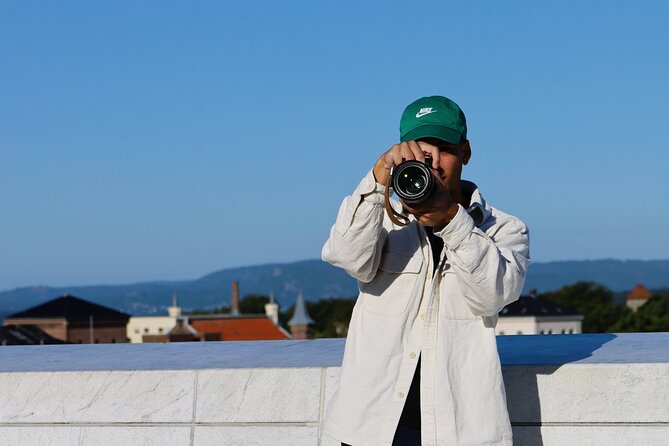
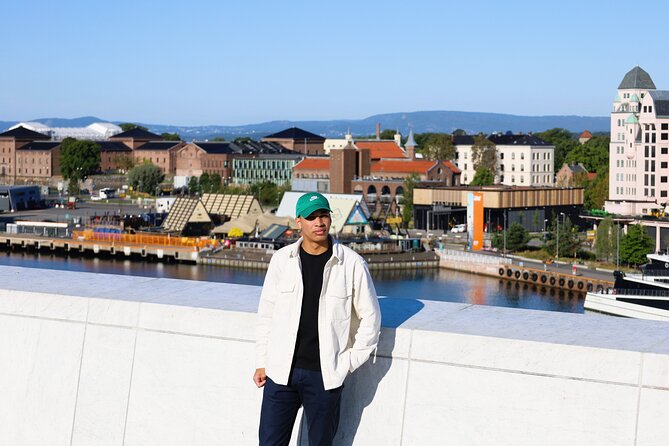
Your first stop is the Oslo Opera House, with 40 minutes for photos. It’s your longer photo block of the tour, so treat it like your anchor session. If you’re only going to nail one or two images, this is the place to do it.
Because it’s a photo stop (not an entry-focused visit), you’ll spend your time creating shots rather than waiting around inside. You’ll get time to try different angles and poses, and you can ask Margarita what will look best from where you’re standing.
Why this stop works well:
- Most time is here, so you have room to experiment
- It’s an iconic Oslo setting that tends to photograph well from multiple viewpoints
- The tour’s focus is photography, so you’re not rushing through a checklist
A consideration: 40 minutes sounds long, but it goes fast once you start trying poses and reviewing what works. If you’re the type who needs a full minute to warm up, say so early. A good photographer will adapt.
Tip for better results: when you’re practicing poses, don’t only focus on your face. Try a couple of full-body stances too. Photos often look more natural when your posture feels relaxed from head to toe, not just in the close-up frame.
Stop 2: Munch in 10 Minutes for a Quick, Specific Shot
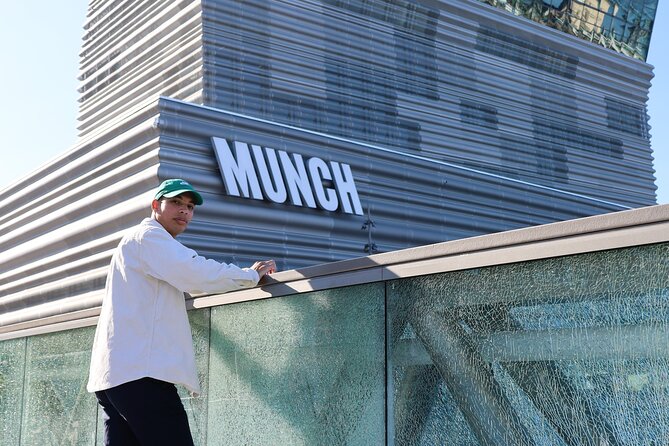
Next is Munch for a 10-minute photo stop. This one is short on purpose. You’re not meant to linger; you’re meant to get in, frame the shot(s), and move on.
For a stop this brief, your strategy matters:
- Decide what you want first: a portrait-style photo, a scenic framing, or both
- Trust the photographer’s directions instead of trying to freestyle everything alone
- Keep your outfit and pose changes simple so you don’t eat up the time
The upside is that it keeps the tour flowing. If you’re someone who gets impatient waiting in one place, the short stop format is a plus.
A small drawback to consider: if you feel like you need time to explore and settle in, you might wish you had longer here. But if your goal is photos and momentum, 10 minutes can actually be perfect.
Stop 3: Barcode Oslo With 40 Minutes to Play With Backgrounds
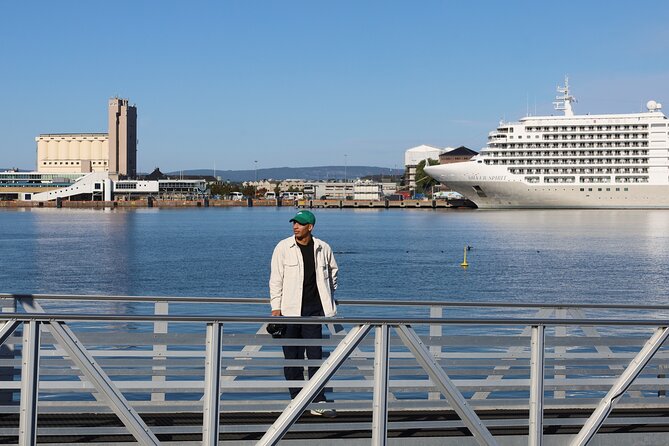
Then it’s Barcode Oslo for another 40 minutes. This is one of the tour’s best chances to make your images look polished, because you have enough time to try different compositions instead of grabbing one quick photo and calling it done.
This stop is also where Margarita’s creative eye becomes especially useful. She’s noted for playing with lighting and backgrounds, which is exactly what you want in an area where the visual backdrop can either make your photo look great or distract from you.
How to get more out of the time:
- Take a portrait shot first, then switch to a more environmental framing
- Try at least one pose with a clear line of sight and one with a more relaxed angle
- Use the time to experiment with what feels most like you
One practical consideration: areas like this can be active. The tour’s value here is that you won’t have to guess how to pose in public. Margarita’s directions help you feel confident even when you’re in a busy setting.
If you’re camera-shy, this is also a relief stop. You’re not left to struggle on your own. The whole experience is designed so you can stop worrying and start producing images you actually want to keep.
Stop 4: Akrobaten Pedestrian Bridge for a Final Quick Photo Finish
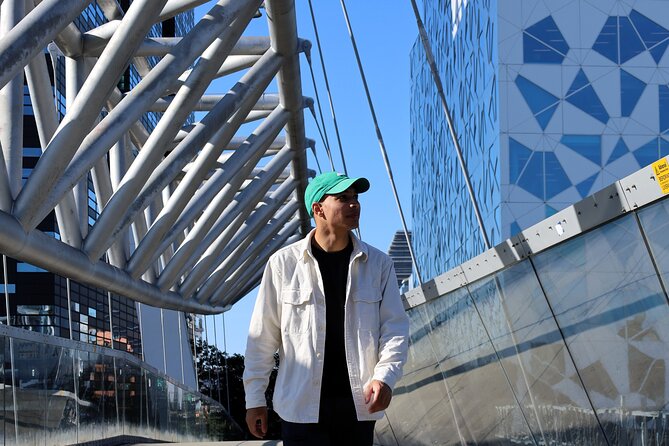
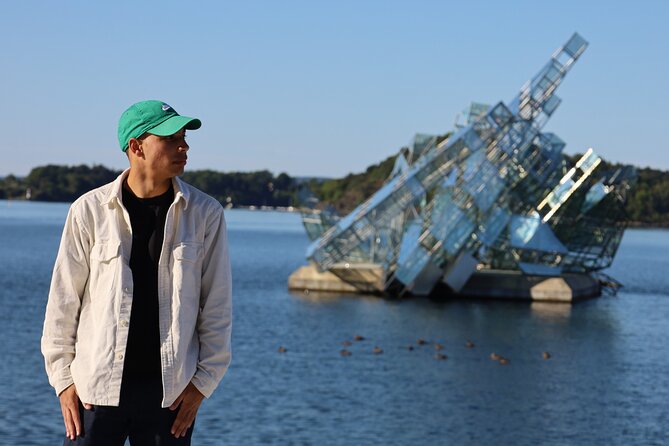
Your last listed photo stop is the Akrobaten Pedestrian Bridge, with 10 minutes. That final burst of time is ideal for getting a last set of shots before the tour wraps.
A short stop like this is best for:
- a clean portrait
- a quick full-body pose
- one scenic framing where you look relaxed and not rushed
You’ll want to treat it like the closer in a photo session. If you spend too long changing outfits or overthinking the pose, the time disappears fast. But if you keep it simple and follow Margarita’s direction, you can get a strong final photo set that ties the tour together.
Also, because the tour ends back at the meeting point, this last stop helps you finish without worrying about how to get back across town.
What Makes This Tour a Smart Value for Your Money
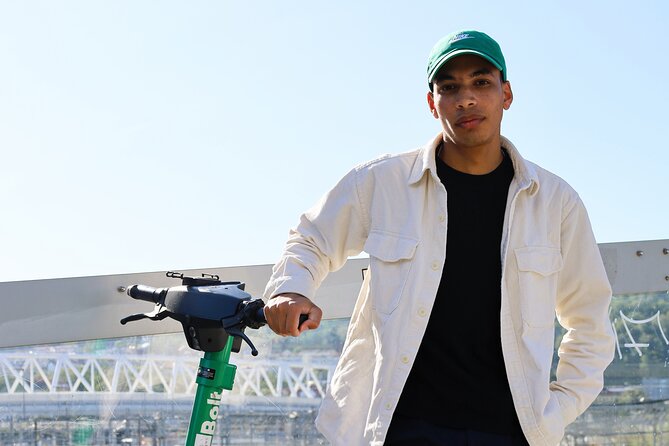
This is a free photo tour with free admission at all listed stops, so the value is in what you’re buying: expert guidance and a route optimized for photos.
At a glance, it looks like you’re doing “just photos” at four landmarks. In practice, that’s only half the point. The other half is that Margarita actively helps you look comfortable and intentional in front of the camera. That alone can change how your photos feel when you get home.
Here’s the value math I’d use:
- You save on entry fees because the photo stops are free
- You save time because the route connects central sights in a tight plan
- You save effort because someone else helps with posing, angles, and direction
If you love the idea of getting great shots but hate the idea of self-directed photo struggles, this tour fits neatly. It also helps for couples and small groups because you’re not just learning how to pose solo. You can also work on how you look together.
Where it’s not the best fit:
- If your priority is long museum visits or deep, unhurried exploring inside buildings, this tour is likely too short and photo-focused.
- If you want a completely self-guided itinerary, you might prefer a walking plan you control start to finish.
Who This Tour Suits Best (And Who Might Skip It)
This tour is a strong fit if:
- you’re visiting Oslo and want a quick, photogenic hit list without spending hours planning
- you want Instagrammable-style photos with less awkward posing
- you like being guided and getting practical direction in real time
- you want a private group experience in a central area
It’s also a great choice if you’re going solo. Many people worry they’ll look awkward alone in photos. The coaching approach here is designed to help, so you’re not stuck trying to figure out your own poses.
One more thing I’d call out from the vibe of the feedback: Margarita isn’t only about technical shots. People describe her as intuitive and even bringing extra nature and city context into the experience. So you’re not just getting images; you’re getting a more human, relaxed photo session that still feels tied to Oslo.
Should You Book This Free Oslo Photo Tour?
I’d book it if your goal is simple: get better photos fast, around iconic Oslo spots, with professional posing help. The free admission at each stop makes the value feel especially clean, because you’re not trading money for access. You’re trading a small slice of time for direction, creativity, and a set of images you’ll actually want to share.
I’d hesitate if you need lots of standalone time at each location or if you want a deep museum itinerary. This tour is about momentum and photos, not long explorations. If that sounds like what you want, you’ll likely leave with images that feel natural, not forced.
FAQ
How long is the Free Oslo Photo Tour?
The tour lasts about 2 hours.
Where does the tour start?
The meeting point is Jernbanetorget 1, 0154 Oslo, Norway.
Does the tour end back at the meeting point?
Yes, the activity ends back at the meeting point.
What photos stops are included?
The tour includes photo stops at the Oslo Opera House, Munch, Barcode Oslo, and Akrobaten Pedestrian Bridge.
Is the tour offered in English?
Yes, the tour is offered in English.
Is there an admission fee for the stops?
Admission is listed as free for the photo stops included in the tour.
How do I get my ticket?
You’ll receive a mobile ticket.
Is this a private tour?
Yes. It’s a private tour/activity, and only your group will participate.
What is the cancellation policy?
You can cancel for a full refund up to 24 hours in advance. If you cancel less than 24 hours before the start time, no refund is provided.