REVIEW · YOSEMITE NATIONAL PARK
Experience Yosemite: Beginner or Advanced Photography Lesson
Book on Viator →Operated by YExplore Yosemite Adventures · Bookable on Viator
That view will change how you shoot. This beginner-to-advanced Yosemite photo lesson turns famous scenery into practical camera skills, from composing waterfalls to getting crisp detail in big granite light. I like that you also learn why some artists gravitated here, with references to Ansel Adams, Carlton Watkins, and Edward Weston, not just where to stand.
Two things that really stand out to me: you get guided practice at real Yosemite Valley photo stops, and you’re corrected by a hands-on instructor who can explain what to do next. One possible drawback: you do need to handle park logistics yourself—the park entrance fee isn’t included, and there’s no hotel pickup—so you’ll want to plan to get to the meeting point on time.
In This Review
- Key things you’ll get out of this Yosemite session
- Shooting Yosemite Like You Mean It: What This Lesson Actually Covers
- Meet the Real Yosemite Valley: Where Composition Becomes a Skill
- Lembert Dome and Olmsted Point: Summer-Only Lessons in Granite Texture
- Tenaya Lake, Tuolumne Meadows, and Glacier Point: The High Country Perspective Shift
- The Instructor Makes the Difference: Jay Sousa and Al’s Coaching Style
- Gear You Actually Need (And How to Use It)
- It’s Not a Fixed List: Seasonal Timing Changes Where You Go
- How Much You Pay for a 4-Hour Photo Lesson
- Planning Around Timing, Weather, and Getting There
- Who Should Book This Yosemite Photography Lesson
- Should You Book It?
- FAQ
- What’s included in the Yosemite photography lesson?
- Do I have to pay Yosemite National Park admission?
- Where does the tour start and end?
- What should I bring for the photo lesson?
- Is the tour only for advanced photographers?
- Are all locations included year-round?
- What happens if weather is bad?
Key things you’ll get out of this Yosemite session
- Pro instruction, not just a sightseeing walk that helps you translate what you see into camera settings and composition
- Iconic + lesser-known photo angles across Yosemite Valley and summer-only High Sierra spots
- Artist context tied to famous names like Ansel Adams, Carlton Watkins, and Edward Weston
- Practical corrections from instructors like Jay Sousa and Al, including gentle coaching and technique fixes
- A focus on your gear habits (tripod, filters, lenses, batteries) so you can shoot with less frustration
Shooting Yosemite Like You Mean It: What This Lesson Actually Covers
A lot of photo tours drop you off at great places and call it a day. This one is different because it’s built around teaching you how to see and how to translate that seeing into real results. You’ll be working during prime Yosemite moments, with a professional photographer there to guide your choices.
I also like the range of skill levels. The tour says all skill levels are welcome, which matters because Yosemite can feel either “easy postcard” or “why is everything blurry” depending on your starting point. If you’re newer, you’ll get structure. If you’re more advanced, you’ll get targeted feedback.
One more smart touch: the tour is tied to the reality of Yosemite seasons. Several stops are listed as summer-only—so your lesson isn’t just a fixed checklist. That matters because light, access, and conditions change, and you’ll learn how to adapt instead of copying someone else’s shot.
Meet the Real Yosemite Valley: Where Composition Becomes a Skill
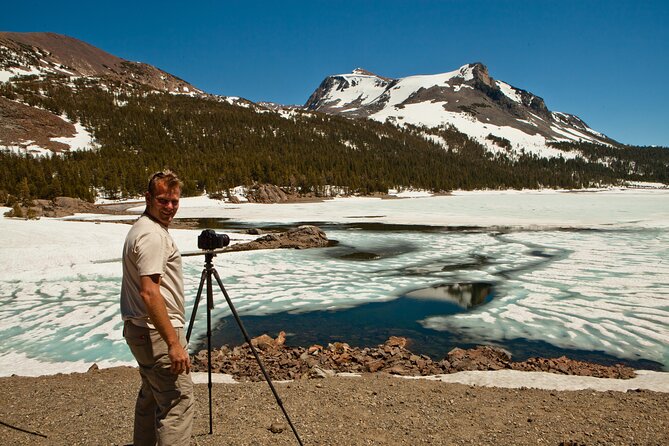
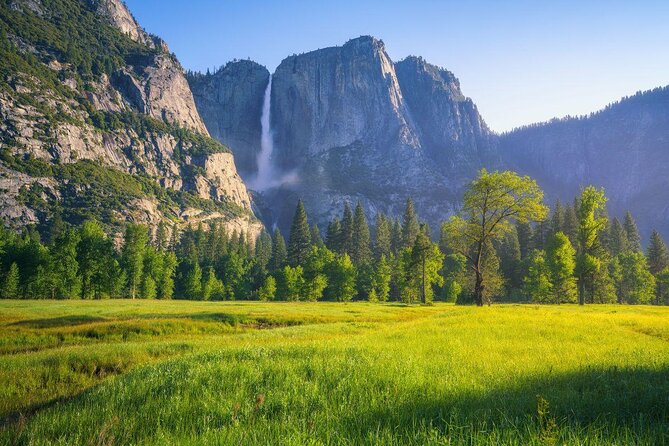
You start in Yosemite National Park at an entrance gate. Admission is not included, so plan for that upfront. After that, your main photo base is Yosemite Valley, the most popular area for a reason: peaks, cliffs, and waterfalls all pile into a single view corridor.
This is where a lesson pays off. Valley scenes are often photographed from the same few angles, which makes it easy to think you need better luck. Instead, you’ll work on deliberate composition—how to place tall subjects, how to use leading lines, and how to balance bright sky with darker rock. Even if you only get a handful of keepers, the lesson helps you understand how to get more next time.
A pro instructor also helps you avoid common “Yosemite trap” problems. The scenery is dramatic, but your camera can still make the shot look flat or soft. On a guided session, you can correct things quickly—things like steadiness, exposure decisions, and lens choices—before they cost you the best light.
Lembert Dome and Olmsted Point: Summer-Only Lessons in Granite Texture
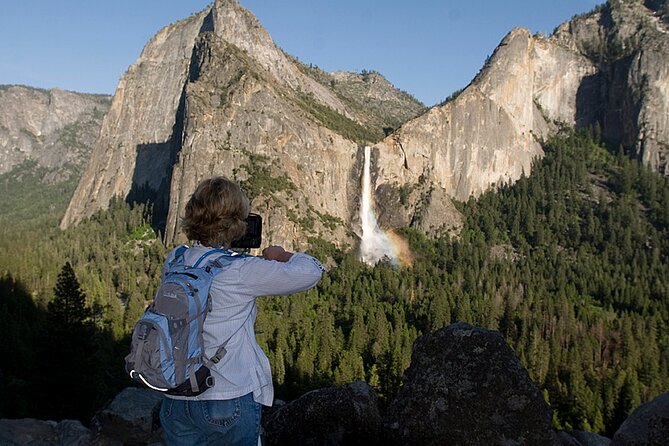
High Sierra is where Yosemite stops being a postcard and starts being a craft project. Lembert Dome is specifically listed as a stop only visited in summer, and that’s a clue about what this lesson values: conditions matter. In summer, you’re more likely to get access and the kinds of viewing angles that make dome and overlook scenes pop.
At spots like Olmsted Point (also summer-only), you’re working with big scale. That changes your approach. You can’t just point your camera at the horizon and hope. You’ll need to think about foreground interest, how to avoid blown highlights, and how to control contrast in scenes where the sky and rock can be very different brightnesses.
These stops also reward patience. If you’re shooting domes and viewpoints, you’ll often wait for small changes—cloud cover shifts, shadows move, and details sharpen. With an instructor there, you’ll know what to try while you wait, not just stare at the scenery.
Tenaya Lake, Tuolumne Meadows, and Glacier Point: The High Country Perspective Shift
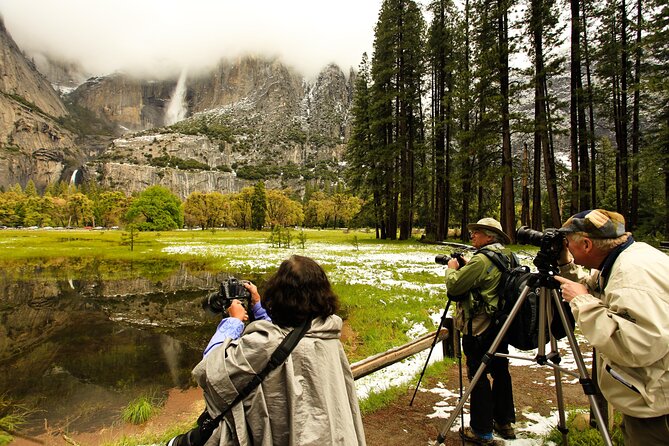
The itinerary includes several classic High Sierra areas: Tenaya Lake, Tuolumne Meadows, and Glacier Point. Each is described as visited only in summer. That’s important because these places are not just “scenic bonuses.” They change how you photograph.
With Tenaya Lake, you’re usually dealing with reflections and layered depth—water, shoreline shapes, and mountain backdrops. That means you’ll need to think about timing and steadiness. If you’re using a tripod (the tour recommends one), you’ll get cleaner results and more control over shutter speed for either smooth water or sharper detail.
Tuolumne Meadows brings a different challenge: wide scenes with long lines and big sky. This is where composition becomes more about geometry than drama. An instructor can help you decide what’s worth including and what will distract your frame.
Then there’s Glacier Point, the kind of view that makes people forget their settings. A lesson here helps you keep control. You’ll learn how to manage bright sky, keep your subject from turning into a silhouette, and still get enough detail in rock and trees.
The Instructor Makes the Difference: Jay Sousa and Al’s Coaching Style
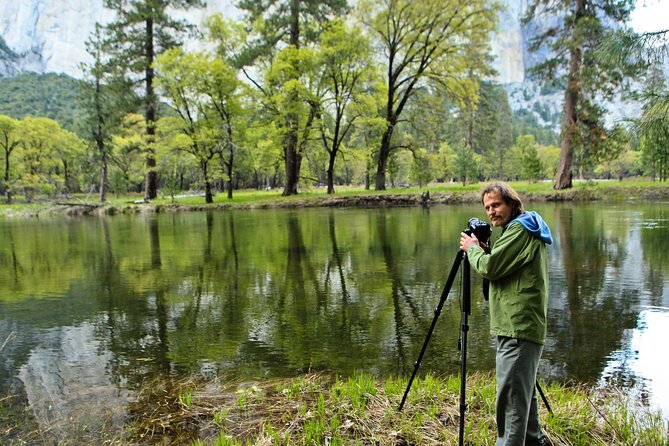
The tour’s strongest selling point is the coaching. One review highlights Jay Sousa as gentle with correction and very helpful with suggestions, even including homework to follow up after the session. That kind of post-lesson reinforcement is rare—and it’s exactly what turns a good afternoon into lasting improvement.
Another review mentions Al providing tons of insight into Yosemite itself, which matters because photography is not only technical. If you know the background, you tend to see better angles and more meaningful details. You also understand why certain compositions work, instead of treating every scene like a random photo lottery.
Even if you don’t ask a lot of questions, you’ll benefit from feedback in real time. When the instructor spots a pattern—like exposure habits, focus problems, or shaky framing—you can adjust immediately. That’s the advantage of a lesson during golden moments, not advice from a book after your trip.
Gear You Actually Need (And How to Use It)
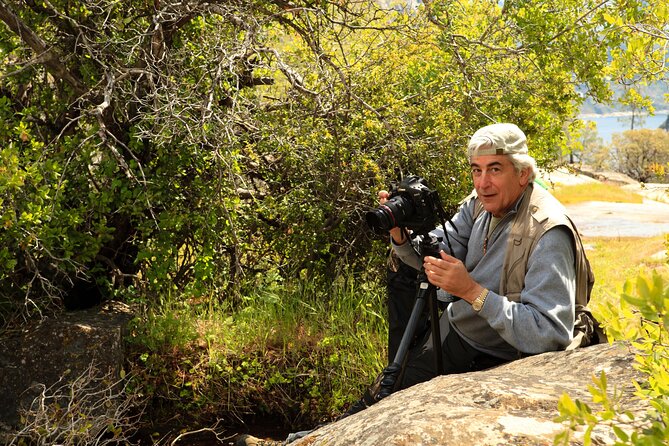
The tour recommends bringing a camera and a sturdy tripod, plus lenses, filters, extra memory cards, and extra batteries. It also suggests gloves, extra layers, a jacket, sunscreen, and a hat. In Yosemite, weather can turn fast, and your comfort affects how long you can focus on shooting.
If you’ve ever packed the wrong setup for a landscape outing, you already know how fast frustration builds. This tour tries to prevent that by encouraging the tools that support control—tripods for stability, filters for managing light, and spare batteries for long sessions where you’re constantly checking shots.
Your job is simple: show up ready to shoot. If you’re missing key gear, you’ll still learn technique, but you may limit what you can practice. The lesson is about sharpening your skills, so bring the kit you use most often—then add the tripod and filter support if you have it.
It’s Not a Fixed List: Seasonal Timing Changes Where You Go
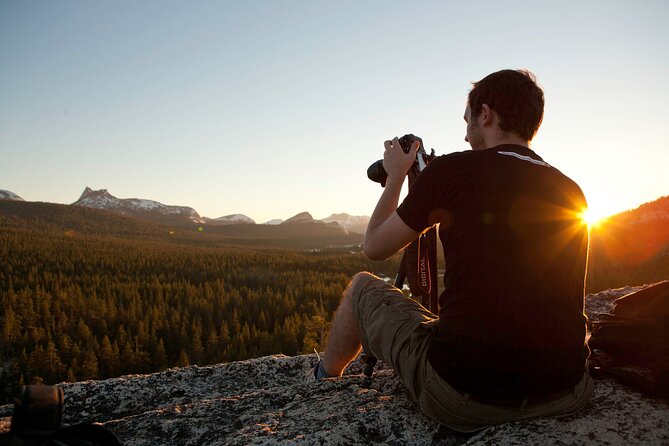
The description notes that photo tours visit various locations at different times of the year, and some stops are only visited in summer. That’s a real-world advantage. Yosemite isn’t one day. It’s many weather patterns, many trail conditions, and many light moods.
So when you plan, think in terms of what you can access and what you can shoot during your month. If your travel dates are outside summer, you may still get strong Yosemite Valley coverage, but the High Sierra stops listed as summer-only might not match your exact dates.
This is also why the tour includes custom tour location planning after confirmation. You’re expected to contact them upon confirmation to discuss your preferences. That gives you a chance to align the experience with what you actually want to photograph, not just what’s most convenient on paper.
How Much You Pay for a 4-Hour Photo Lesson
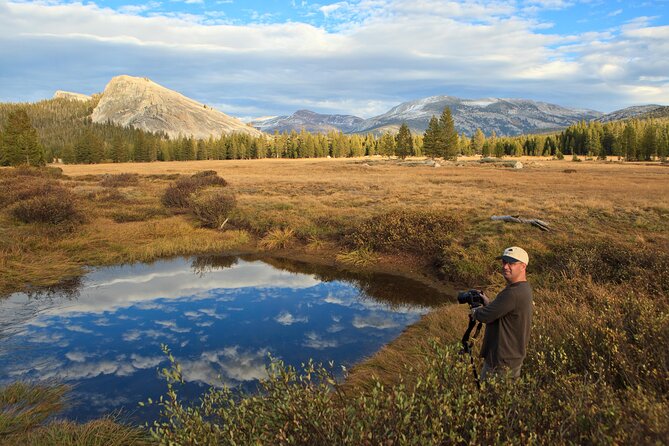
At $675 per person for about 4 hours, this isn’t a cheap add-on. The value comes from two things: guided instruction from a professional photography instructor and a private, tailored experience where you’re not competing with strangers for attention or timing.
If you’re the type who wants to improve quickly—especially someone who has a camera but struggles to translate what you see into consistent images—this price starts to make sense. You’re paying for time, coaching, and feedback during prime conditions, not only transportation.
If you’re expecting a basic tour with a few tips along the way, you’ll likely feel the cost more than the value. But if your goal is to leave with a clearer approach—how to expose, compose, and refine—this format is built for exactly that.
Planning Around Timing, Weather, and Getting There
This lesson depends on favorable weather. If it’s canceled due to poor weather, you’ll be offered an alternative date or a full refund. That matters in Yosemite, where conditions can shift quickly.
Also plan for arrival. There’s no hotel pickup or drop-off, and the tour ends back at the meeting point. You’ll want to drive yourself and be ready to start on time. After booking, you’ll provide your hotel and contact information so they can email driving directions to the meeting location.
And yes, you’ll want food and water. The tour notes snacks and water as recommended, which is exactly what you want on a few hours of shooting in variable conditions.
Who Should Book This Yosemite Photography Lesson
This tour fits best if you want guided improvement in real Yosemite settings. You’ll likely enjoy it if you:
- Want a structured way to photograph waterfalls, cliffs, and wide High Sierra views
- Prefer hands-on coaching over generic tips
- Are willing to bring and use a tripod and work through composition intentionally
- Want to learn the why behind famous Yosemite photographers
It may feel less worth it if you only want casual sightseeing or you don’t plan to shoot much with your camera. This experience rewards active participation—moving when guided, trying suggestions, and learning from corrections.
Should You Book It?
If you’re serious about leveling up your photography skills in Yosemite, I think this is a strong choice. The mix of real instruction, Yosemite Valley focus, and summer-only High Sierra stops gives you a lesson that’s both practical and inspiring. The presence of instructors like Jay Sousa (gentle corrections, helpful suggestions, homework) and Al (deep Yosemite insight) signals that you’re not just paying for a viewpoint—you’re paying for guidance.
Book it if you want to leave with a clearer shooting process, not just a phone full of wide shots. Bring your camera, your tripod, and your willingness to adjust—then let Yosemite do the rest.
FAQ
What’s included in the Yosemite photography lesson?
The tour includes a local guide and a professional photography instructor, plus a custom tour location (you must contact them after confirmation to discuss). It also includes a vehicle reservation permit into Yosemite National Park when reservations are required. Park entrance fee, food, and drinks are not included.
Do I have to pay Yosemite National Park admission?
Yes. The itinerary mentions entering the park at an entrance gate to pay admission, and the park entrance fee is listed as not included.
Where does the tour start and end?
The tour starts and ends back at Yosemite National Park. There is no hotel pickup or drop-off, so you’ll need to get yourself to the meeting location.
What should I bring for the photo lesson?
You’re advised to bring your camera and recommended accessories like a sturdy tripod, lenses, filters, extra memory cards, extra batteries, gloves, extra layers, a jacket, sunscreen, a hat, and snacks and water.
Is the tour only for advanced photographers?
No. The tour states that all skill levels are welcome, from beginner to advanced, with instruction provided by a professional photography instructor.
Are all locations included year-round?
No. Several stops are noted as only visited in summer, including Lembert Dome, Olmsted Point, Tenaya Lake, Tuolumne Meadows, and Glacier Point. The tour visits different locations at different times of the year.
What happens if weather is bad?
The experience depends on favorable weather. If it’s canceled due to poor weather, you’ll be offered an alternative date or a full refund.